
12 min read • 2,502 words
In today’s diverse computing landscape, many users seek the flexibility of running multiple operating systems on a single machine. Triple booting Windows, Linux, and macOS offers the unique advantage of accessing the best features of each platform without the need for multiple devices. This guide will walk you through the essential steps to successfully set up a triple boot configuration, ensuring that you can enjoy the benefits of all three operating systems seamlessly. Understanding how to triple boot Windows, Linux, and macOS not only enhances your computing experience but also broadens your technical skills.
As the demand for versatile computing solutions grows, the ability to triple boot Windows, Linux, and macOS becomes increasingly valuable. Each operating system caters to different needs, from gaming and productivity to software development and creative work. By learning how to effectively partition your hard drive and utilize a boot manager like rEFInd, you can streamline your workflow and maximize your PC’s potential. This article will provide you with the knowledge and tools necessary to navigate the complexities of triple booting, ensuring a smooth and efficient setup.
Before embarking on your triple boot journey, it’s crucial to understand the prerequisites and potential challenges involved. Ensuring that your hardware supports all three operating systems is essential for a successful installation. Additionally, backing up your data is a vital step to prevent any loss during the partitioning process. In this comprehensive guide, you will learn how to prepare your system, allocate space for each OS, and manage the boot process effectively. By the end, you’ll be equipped with the skills to triple boot Windows, Linux, and macOS with confidence.
Step-by-Step Tutorial
Step 1: Prepare Your System
-
Backup Your Data:
Before making any changes to your system, it is crucial to back up all important data. Use an external hard drive or a cloud storage solution to ensure your files are safe. Verify your backups to confirm that they are complete and accessible.
-
Check Storage Space:
Ensure that your hard drive has enough storage space to accommodate all three operating systems: Windows, Linux, and macOS. You will need to create separate partitions for each OS.
-
Prepare Installation Media:
Download the installation images for Windows, Linux, and macOS. Create bootable USB drives for each operating system using the following commands:
dd if=/path/to/windows.iso of=/dev/sdX bs=4Mdd if=/path/to/linux.iso of=/dev/sdY bs=4Mdd if=/path/to/macos.iso of=/dev/sdZ bs=4M -
Ensure BIOS/UEFI Settings:
Access your BIOS/UEFI settings and ensure that the boot mode is set to UEFI if you plan to install in UEFI mode. Disable Secure Boot if necessary, as it may prevent the installation of certain operating systems.
By completing these steps, you will have prepared your system for a successful triple boot installation.
Troubleshooting & Verification
Ensure your BIOS/UEFI settings are configured correctly for booting multiple operating systems. Verify that your hard drive is partitioned properly and that each OS installation media is functional. Check for any firmware updates that may enhance compatibility with triple boot configurations.
Step 2: Create Installation Media
-
Download Installation ISOs:
- Visit the official websites for Windows, Linux, and macOS to download the respective ISO files.
- Ensure you select the correct version compatible with your hardware.
-
Create Bootable USB Drives:
- For Windows, download and install Rufus from rufus.ie.
- Insert a USB drive (minimum 8GB) and open Rufus.
- Select the downloaded Windows ISO file in Rufus.
- Click “Start” to create the bootable USB drive.
-
For Linux:
- Download and install Balena Etcher from balena.io/etcher.
- Insert a USB drive and open Balena Etcher.
- Select the Linux ISO file and choose the USB drive.
- Click “Flash!” to create the bootable USB drive.
-
For macOS:
- Use the Terminal to create a bootable USB drive.
- Insert the USB drive and format it as “Mac OS Extended (Journaled)” using Disk Utility.
- Open Terminal and run the following command:
- Replace “MyVolume” with the name of your USB drive.
sudo /Applications/Install\ macOS\ Ventura.app/Contents/Resources/createinstallmedia --volume /Volumes/MyVolume
Label your USB drives for easy identification after creation.
Ensure you download the correct version for your hardware to avoid compatibility issues.
Troubleshooting & Verification
Ensure your USB drive is properly formatted and has sufficient space. Verify the integrity of the downloaded ISO files using checksums. If the installation media fails to boot, try a different USB port or use another tool to create the installation media.
Step 3: Partition Your Hard Drive
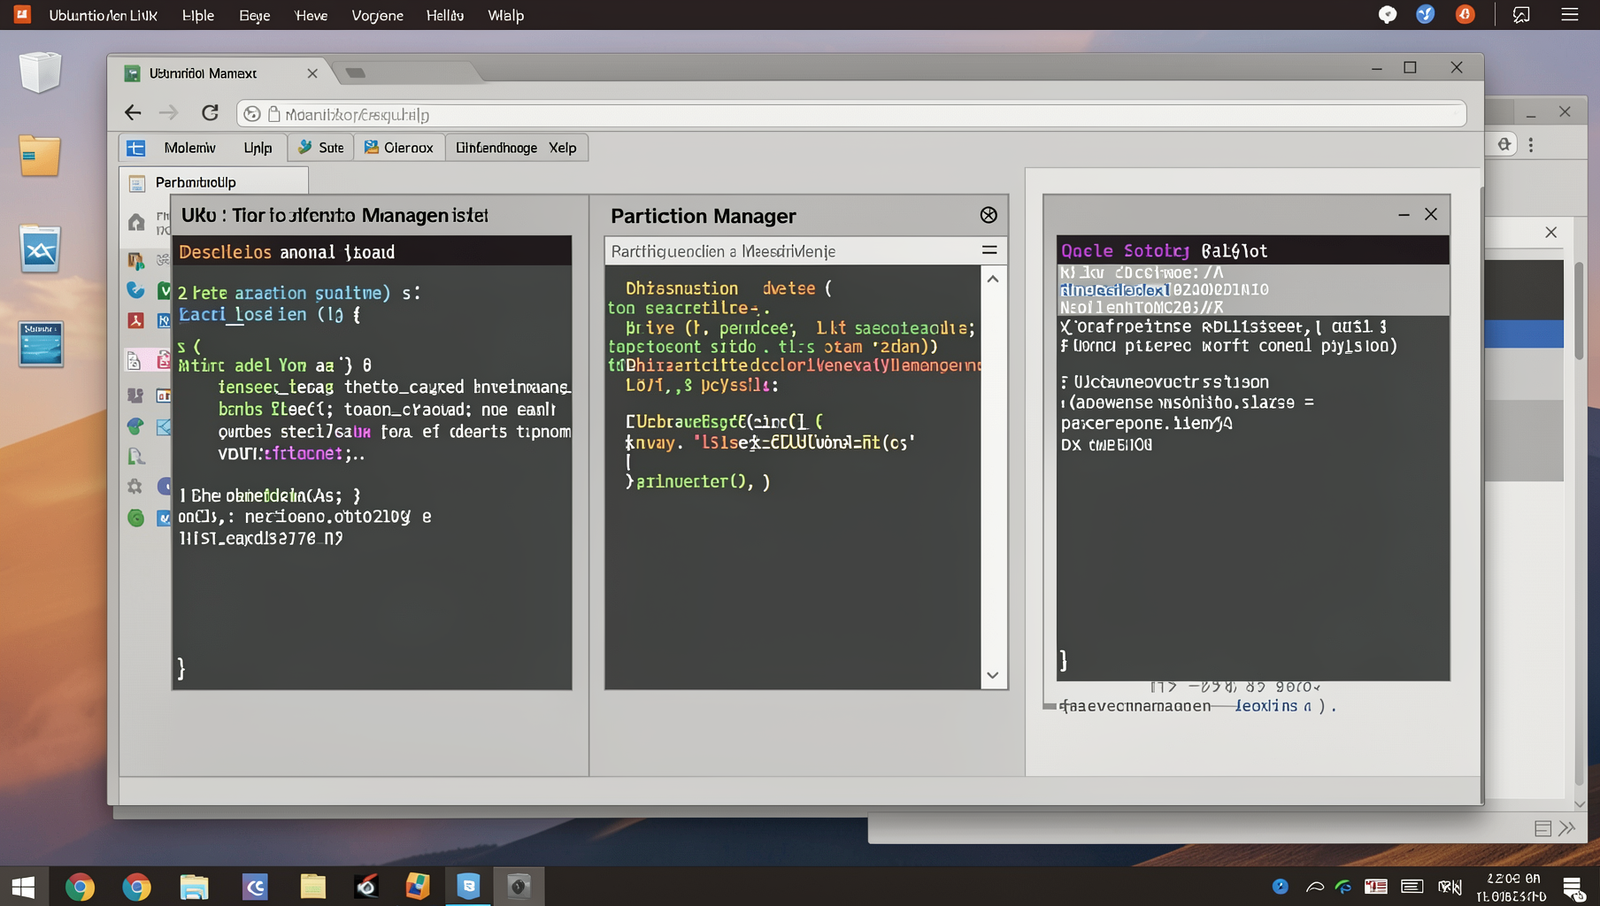
- Backup your data: Before making any changes, ensure you have a backup of your important files. Use an external drive or cloud storage.
- Download and create a bootable USB for GParted: Visit the GParted website and download the ISO file. Use a tool like Rufus to create a bootable USB.
- Boot from the GParted USB: Restart your PC and enter the BIOS/UEFI settings to change the boot order, allowing your PC to boot from the USB drive.
- Resize existing partitions: Once GParted loads, select your main partition (usually NTFS for Windows) and right-click to choose “Resize/Move.” Allocate at least 50GB for Windows and Linux, and 20GB for macOS.
- Create new partitions: After resizing, right-click on the unallocated space and select “New.” Create a partition for Linux (ext4 format) and another for macOS (APFS format).
- Consider a shared data partition: If you want to share files between operating systems, create an additional NTFS partition.
- Apply changes: Click the green checkmark to apply all changes. Wait for the process to complete before exiting GParted.
- Reboot your PC: Remove the USB drive and restart your computer to proceed with the installation of each operating system.
Warnings: Do not delete existing partitions without backing them up first. Always ensure you have sufficient space allocated for each operating system to function properly.
Troubleshooting & Verification
Ensure that your partitions are correctly formatted and sized. Use disk management tools to verify partition integrity. If boot issues arise, check BIOS settings for boot order and secure boot options. Always back up data before making changes to partitions.
Step 4: Install Windows
- Insert the Windows USB drive into your PC and reboot.
- Access the boot menu by pressing the appropriate key (usually F12, Esc, or F10) during startup.
- Select the USB drive from the boot options to start the Windows installation process.
- Once the Windows Setup screen appears, choose your language, time, and keyboard preferences, then click “Next.”
- Click on “Install Now” and enter your Windows product key when prompted. Keep this key safe for future use.
- Accept the license terms and click “Next.”
- Select “Custom: Install Windows only (advanced)” when prompted for the installation type.
- Choose the partition you created earlier for Windows. Be very careful to select the correct partition to avoid overwriting other operating systems.
- Click “Next” to begin the installation. Windows will copy files and install features, which may take some time.
- Once the installation is complete, follow the on-screen prompts to set up your user account and preferences.
Tip: Disconnect other drives during installation to prevent confusion.
Warning: Ensure you select the correct partition to avoid overwriting other OSs.
Troubleshooting & Verification
If Windows fails to install, check BIOS settings for UEFI/Legacy mode compatibility. Ensure the installation media is correctly created and not corrupted. Verify disk partitions are properly formatted. If issues persist, consult Windows installation logs for specific error messages and solutions.
Step 5: Install Linux
- Boot your PC from the Linux USB drive. You may need to access the boot menu by pressing a specific key (often F12, Esc, or Del) during startup.
- Once the Linux installer loads, select the option to install Linux.
- When prompted to choose the installation type, select “Something else” to manually configure partitions.
- Locate the partition you created for Linux. It should be formatted as ext4. Select it and click on “Change”. Set the mount point to “/” and confirm.
- Ensure you select the option to install the bootloader (GRUB) on the same drive where you installed Linux.
- Follow the remaining prompts to complete the installation, including setting your timezone, keyboard layout, and user credentials.
- After installation, reboot your system. You should see the GRUB menu, allowing you to choose between Windows, Linux, and macOS.
Tips: Consider using a lightweight Linux distribution if your hardware is older. Customize the installation options based on your preferences.
Warnings: Always choose the option to install the bootloader when prompted to avoid boot issues.
Troubleshooting & Verification
If Linux fails to install, check BIOS settings for UEFI/Legacy mode compatibility. Ensure disk partitions are correctly formatted. Use a live USB to verify hardware compatibility. Review installation logs for errors and confirm that the installation media is not corrupted.
Step 6: Install macOS
- Prepare your macOS USB drive using a tool like UniBeast. Follow the instructions provided by UniBeast to create a bootable macOS installer.
- Insert the USB drive into your PC and reboot. Access the boot menu (usually by pressing F12, Esc, or another key depending on your motherboard) and select the USB drive to boot from it.
- Once the macOS installer loads, you may need to enter specific boot flags for your hardware. Research the required flags and enter them when prompted.
- Follow the on-screen installation prompts. When asked to select a destination, choose the partition you created for macOS.
- Proceed with the installation. This may take some time, and your PC may restart several times during the process.
- After installation, complete the initial setup by configuring your preferences and creating a user account.
Ensure your hardware is compatible with macOS installation, and keep a macOS recovery USB handy in case of issues.
Troubleshooting & Verification
If macOS fails to install, ensure your BIOS settings are correct, particularly virtualization and boot mode. Verify the integrity of your macOS installer and check for compatibility with your hardware. Use verbose mode during boot to identify specific errors for further troubleshooting.
Step 7: Configure Bootloader
- Boot into your Linux installation. Make sure you are logged in with administrative privileges.
- Open a terminal window to enter the necessary commands.
- First, back up your current GRUB configuration file by running the following command:
- Next, update the GRUB configuration to detect all installed operating systems by executing:
- During this process, GRUB will scan for Windows and macOS installations and add them to the boot menu.
- Once the update is complete, reboot your system:
- Upon reboot, you should see the GRUB menu displaying options for Windows, Linux, and macOS.
- Test booting into each operating system to ensure they work correctly.
sudo cp /etc/default/grub /etc/default/grub.baksudo update-grubsudo rebootRemember, incorrect bootloader configuration can lead to boot issues, so proceed with caution.
Troubleshooting & Verification
Ensure that the bootloader configuration file is correctly set up for all operating systems. Verify that each OS entry points to the right partition. If issues arise, use a live USB to access the system and check for errors in the bootloader settings.
Step 8: Finalize Setup and Test
- Reboot your computer. As it starts up, you should see the GRUB menu displaying the options for Windows, Linux, and macOS.
- Select each operating system one by one from the GRUB menu. Start with Linux, then Windows, and finally macOS.
- For each operating system, ensure that it boots completely and that you can log in without issues. Check basic functionalities such as internet connectivity and file access.
- If any operating system fails to boot, refer to your installation documentation for troubleshooting steps.
- Document any issues encountered and the solutions applied for future reference.
-
Regularly update each operating system to maintain security. Use the following commands for Linux:
sudo apt updatesudo apt upgrade -
Keep a recovery disk for each OS handy in case of boot issues. Create a recovery disk for Windows using:
recdisc
Troubleshooting & Verification
If you encounter boot issues, ensure the boot order in BIOS is correct. Verify that each OS partition is properly formatted and accessible. Use recovery tools for each OS if necessary. Test each operating system to confirm functionality and resolve any errors encountered during booting.
Conclusion
In summary, triple booting Windows, Linux, and macOS on a single PC offers users the flexibility to leverage the unique features and applications of each operating system. By carefully partitioning your hard drive, installing each OS in the correct order, and configuring a boot manager, you can create a seamless multi-OS experience. This setup not only enhances productivity but also allows for experimentation with different environments without the need for multiple devices.
As you embark on your triple boot journey, ensure you back up your data and follow the installation guidelines meticulously. Once set up, explore the diverse capabilities of Windows, Linux, and macOS, and enjoy the benefits of having all three operating systems at your fingertips.
Frequently Asked Questions
What is triple booting?
Triple booting refers to the process of installing three different operating systems on a single computer, allowing users to choose which one to boot into at startup. This setup is particularly useful for developers, testers, or enthusiasts who want to experience multiple environments without needing separate machines. Each operating system operates independently, and users can switch between them based on their needs. Proper partitioning of the hard drive is essential to ensure that each OS has its own space and does not interfere with the others.
Can I triple boot Windows, Linux, and macOS?
Yes, it is possible to triple boot Windows, Linux, and macOS on a single PC, but it requires careful planning and execution. Each operating system has specific requirements and compatibility considerations. For instance, macOS can only be legally installed on Apple hardware, and running it on non-Apple machines may violate Apple’s licensing agreements. Additionally, you must ensure that your hardware supports all three operating systems and that you have adequate disk space and resources to manage them effectively.
What do I need to prepare for triple booting?
To successfully triple boot Windows, Linux, and macOS, you need several key preparations. First, ensure you have sufficient disk space for each operating system, typically at least 20-30 GB for Linux and Windows, and more for macOS. You will also need installation media for each OS, such as USB drives or DVDs. Familiarize yourself with partitioning tools, as you will need to create separate partitions for each OS. Lastly, back up your data to prevent loss during the installation process, as partitioning can lead to data loss if not done correctly.
Is it safe to triple boot?
Triple booting can be safe if done correctly, but it does come with risks. The primary concern is data loss during partitioning or installation, which is why backing up important files is crucial. Additionally, improper configuration of boot loaders can lead to boot issues, making one or more operating systems inaccessible. Each OS should be installed in the correct order, typically starting with Windows, followed by Linux, and finally macOS. Following best practices and using reliable tools can minimize risks and ensure a smooth triple boot experience.