
12 min read • 2,505 words
In today’s tech-savvy world, the ability to dual boot Kali Linux with Windows 11 is an invaluable skill for anyone interested in cybersecurity, ethical hacking, or software development. Kali Linux, a powerful penetration testing distribution, offers a suite of tools that can enhance your security skills and provide hands-on experience. By dual booting, users can seamlessly switch between the robust features of Kali Linux and the familiar environment of Windows 11, making it easier to learn and apply various techniques without the need for virtual machines.
Understanding how to dual boot Kali Linux with Windows 11 is crucial for those who want to leverage the strengths of both operating systems. This process involves creating a separate partition for Kali Linux, ensuring that Windows 11 is installed in UEFI mode for optimal compatibility. As more professionals and enthusiasts turn to Kali Linux for its advanced capabilities, knowing how to set up a dual boot system can significantly enhance your skill set and open up new opportunities in the tech field.
In this article, you will learn the step-by-step process of dual booting Kali Linux with Windows 11, from preparing your hard drive to installing the GRUB bootloader for managing the dual boot process. We will cover essential tips, such as using a USB drive to create a bootable Kali Linux installer and the importance of backing up your data before partitioning your hard drive. By the end of this guide, you will be equipped with the knowledge needed to successfully dual boot Kali Linux alongside Windows 11, empowering you to explore the world of cybersecurity with confidence.
Step-by-Step Tutorial
Step 1: Prepare Your System
- Backup Important Data: Before proceeding with the installation, it is crucial to back up all important data on your Windows 11 system. Use an external hard drive to store your backups. Ensure that you copy all essential files, documents, and any other data you cannot afford to lose.
- Verify Backup Integrity: After backing up your data, verify the integrity of your backup files. Check that all files are accessible and not corrupted. You can do this by opening a few files from the backup location.
- Check System Requirements: Ensure that your system meets the minimum requirements for installing Kali Linux. This includes checking the processor, RAM, and available disk space. Typically, Kali Linux requires at least 20 GB of free space and 2 GB of RAM.
-
Free Up Disk Space: If necessary, uninstall any unnecessary applications or files to free up disk space. You can use the following command to check disk usage:
wmic logicaldisk get size,freespace,caption
By completing these steps, you will ensure that your important data is safe and your system is ready for the installation of Kali Linux alongside Windows 11.
Troubleshooting & Verification
Ensure your system’s BIOS/UEFI settings are configured to support dual booting. Verify that secure boot is disabled and that the boot mode is set to UEFI. Check for sufficient disk space and confirm that Windows 11 is functioning properly before proceeding with the installation.
Step 2: Create Space for Kali Linux
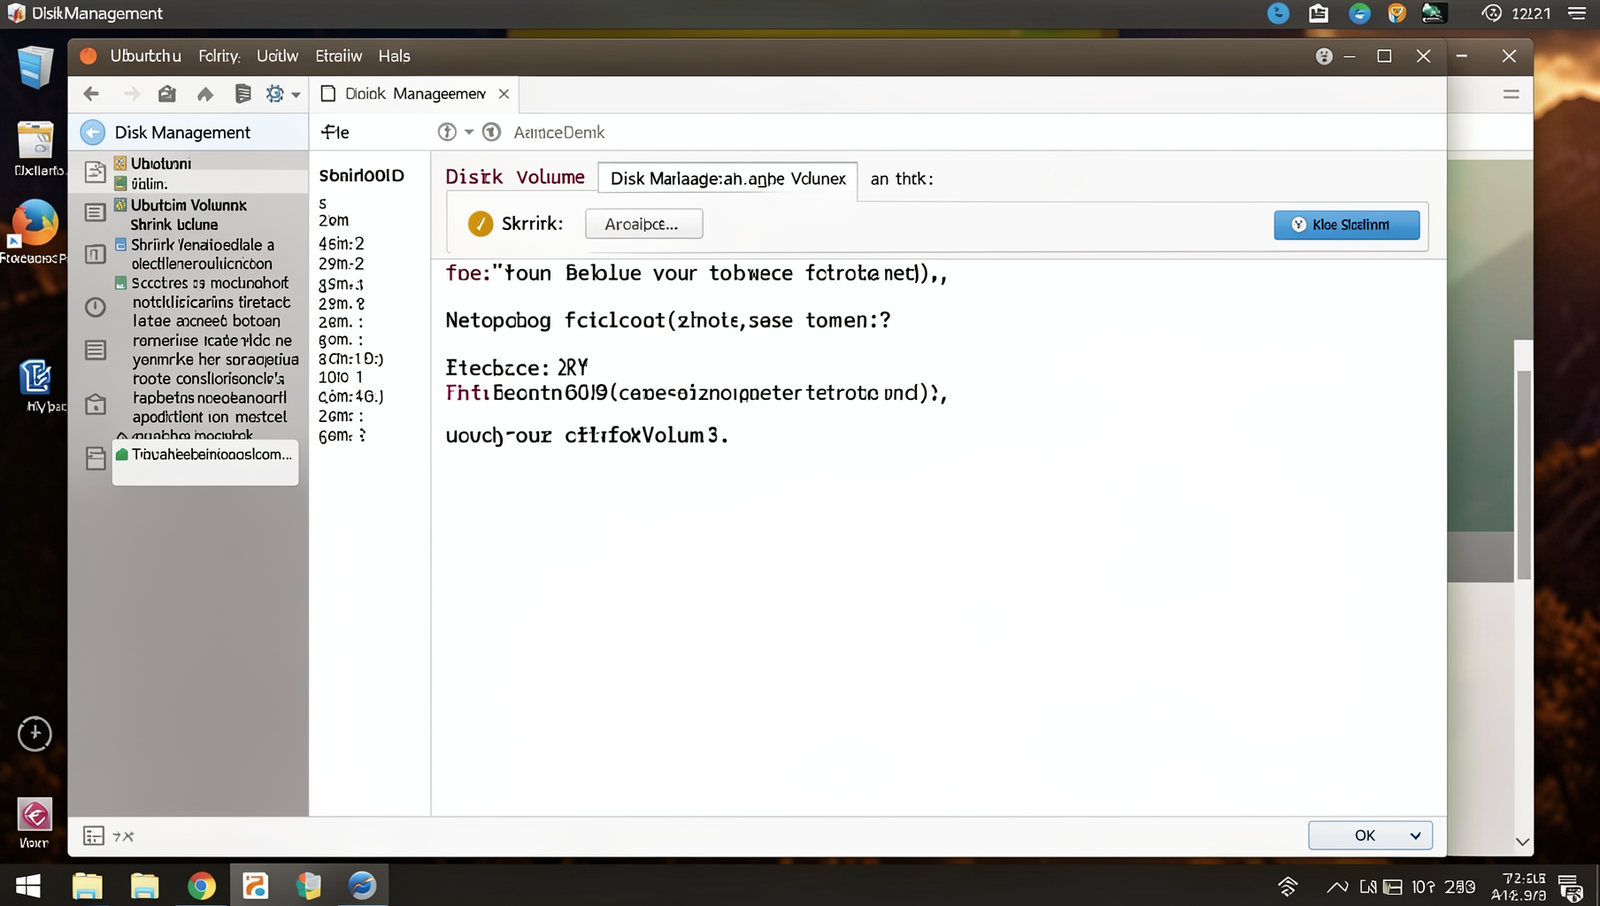
- Access Disk Management in Windows by right-clicking the Start button and selecting ‘Disk Management’.
- In the Disk Management window, locate your primary drive, which is usually labeled as C:. Right-click on it.
- Select the option ‘Shrink Volume’ from the context menu. This will open a dialog box showing the total size of the drive and the amount of space available for shrinking.
- Enter the amount of space you want to allocate for Kali Linux in megabytes (MB). A minimum of 20,000 MB (20 GB) is recommended, but you may want to allocate more depending on your needs.
- Click on the ‘Shrink’ button to create unallocated space on your hard drive.
Make sure to leave enough space for Windows updates and applications. Remember, do not delete any partitions; only shrink the volume to create unallocated space for the Kali Linux installation.
Troubleshooting & Verification
Ensure that you have successfully shrunk the Windows partition using Disk Management. Verify that unallocated space is visible in the partition manager. If not, restart your computer and check again. Additionally, confirm that your Windows installation is functioning properly before proceeding.
Step 3: Download Kali Linux ISO
- Open your web browser and navigate to the official Kali Linux website at https://www.kali.org/downloads/.
- On the downloads page, locate the latest version of the Kali Linux ISO. Ensure that you select the correct architecture for your system, either 32-bit or 64-bit.
- Click on the download link for the ISO file. Depending on your internet speed, the download may take some time.
-
After the download is complete, verify the integrity of the ISO file by checking the SHA256 checksum. You can do this by running the following command in your terminal:
sha256sum kali-linux-.iso - Compare the output of the command with the checksum provided on the Kali Linux downloads page to ensure they match.
- For faster downloads, consider downloading the torrent file available on the same page. Use a torrent client to download the ISO file.
Ensure you only download from the official Kali Linux website to avoid malicious files.
Troubleshooting & Verification
If the Kali Linux ISO fails to download, check your internet connection and try a different browser. Verify the integrity of the downloaded file using checksums provided on the Kali website to ensure it is not corrupted before proceeding with the installation.
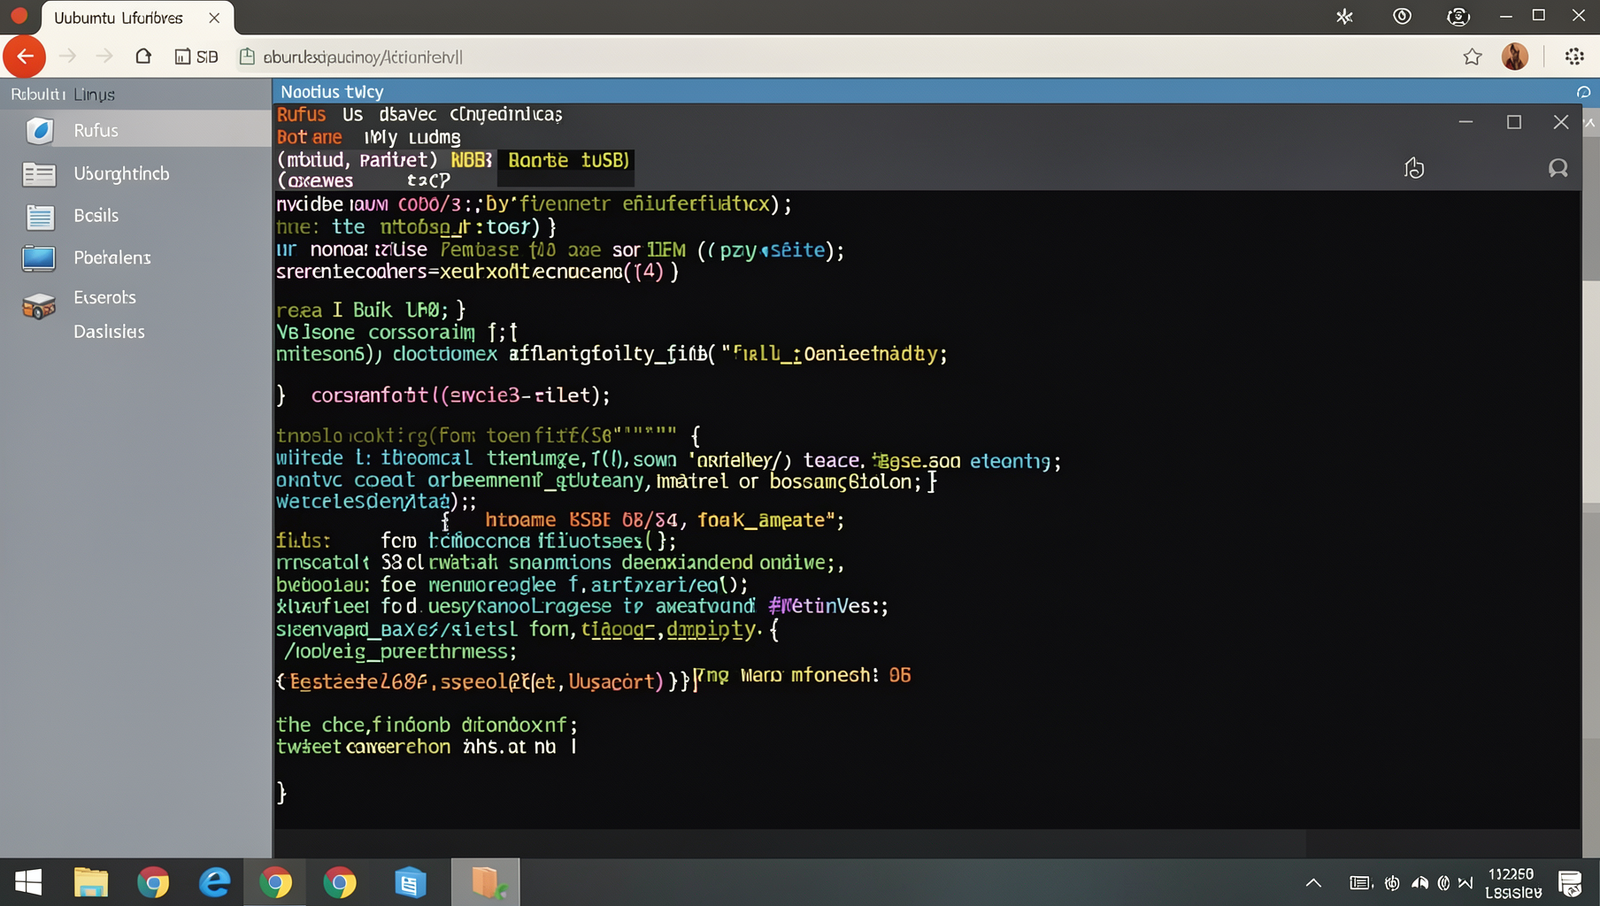
Step 4: Create a Bootable USB Drive
- Download and install a tool like Rufus or Balena Etcher on your Windows 11 system.
- Insert a USB drive with at least 8 GB of storage into your computer. Ensure that it is empty, as all data will be erased.
- Open Rufus or Balena Etcher. If using Rufus, select your USB drive from the “Device” dropdown menu.
- Click on the “Select” button to browse and choose the downloaded Kali Linux ISO file.
- For Rufus, ensure the partition scheme is set to “MBR” and the file system is “FAT32”.
- Click on the “Start” button to begin the process. Confirm any prompts that appear regarding data loss.
- Wait for the process to complete. Once finished, safely eject the USB drive.
Tips: Use a USB 3.0 drive for faster installation speeds. Make sure to select the correct USB drive to avoid data loss.
Warnings: All data on the USB drive will be erased.
Troubleshooting & Verification
If the bootable USB drive fails to create, ensure the ISO file is not corrupted. Verify the USB drive’s format is FAT32. Use tools like Rufus or Balena Etcher for better compatibility. Check the USB port and try a different one if necessary.
Step 5: Boot from USB Drive
- Restart your computer.
- Immediately press the appropriate key to enter the BIOS/UEFI settings. This key is often
F2,F12,DEL, orESC, depending on your computer’s manufacturer. - Once in the BIOS/UEFI menu, navigate to the ‘Boot’ tab using the arrow keys.
- Look for the ‘Boot Order’ or ‘Boot Priority’ option. Here, you will see a list of devices.
- Change the boot order to prioritize your USB drive. Use the designated keys (usually
+/-orF5/F6) to move the USB drive to the top of the list. - Save your changes and exit the BIOS/UEFI settings. This is typically done by pressing
F10and confirming the changes. - Your computer should now boot from the USB drive instead of the hard drive.
Tips: Take note of the original boot order in case you need to revert changes. Look for a ‘Boot Menu’ option to select the USB drive directly if available.
Warnings: Changing BIOS settings can affect system booting; proceed with caution.
Troubleshooting & Verification
Ensure the USB drive is properly formatted as FAT32 and contains the correct Kali Linux ISO. Verify that the BIOS/UEFI settings allow USB booting and that the USB drive is prioritized in the boot order. Test the USB on another computer if necessary.
Step 6: Install Kali Linux
- Once you have booted from the USB drive, you will see the Kali Linux boot menu. Use the arrow keys to navigate and select ‘Graphical Install’ by pressing
Enter. - After selecting ‘Graphical Install’, the installation process will begin. Follow the on-screen instructions to choose your preferred language, location, and keyboard layout.
- When prompted to configure the network, enter a hostname for your Kali Linux installation. You can leave the domain name blank unless you have specific requirements.
- Next, set up your user account and password. It is recommended to use a strong password for security purposes.
- Now, you will reach the partitioning section. Choose ‘Manual’ to create separate partitions for root and swap. This is crucial for optimal performance.
- Carefully select the partition where you want to install Kali Linux. Be cautious to avoid overwriting your Windows installation. If unsure, double-check the partition sizes and formats.
- After partitioning, proceed with the installation by following the prompts. The installer will copy files and configure the system.
- Finally, when prompted, install the GRUB bootloader to the master boot record. This will allow you to choose between Kali Linux and Windows during boot.
Ensure that you read each prompt carefully to avoid mistakes during installation. Once completed, your Kali Linux installation should proceed without errors.
Troubleshooting & Verification
If the installation fails, ensure your system’s BIOS settings allow for UEFI booting and that secure boot is disabled. Verify the integrity of the Kali Linux ISO file by checking its SHA256 checksum against the official values provided on the Kali website.
Step 7: Configure Bootloader
- During the Kali Linux installation, you will reach a point where you are prompted to install the GRUB bootloader.
- Select the option to install GRUB on the primary hard drive, which is typically identified as
/dev/sda. - When asked about the device for bootloader installation, confirm your choice by selecting
/dev/sdaagain if prompted. - Make a note of the boot options provided by GRUB; these will help you understand how to select between Kali Linux and Windows 11 during boot.
- If you are unsure about any options, it is generally safe to choose the default settings during the GRUB installation process.
It is crucial to be cautious during this step, as an incorrect installation of GRUB can render Windows unbootable. After successfully installing GRUB, you should be able to dual boot between Kali Linux and Windows 11 without issues.
Troubleshooting & Verification
If the bootloader does not display both operating systems, boot into Kali Linux and run sudo update-grub. Ensure that the BIOS settings prioritize the correct drive. If issues persist, check for UEFI/Legacy mode conflicts and adjust settings accordingly.
Step 8: Complete Installation and Reboot
- Once the installation process is complete, you will be prompted to remove the installation media. Carefully take out the USB drive from your computer.
- Click on the “Reboot” button to restart your computer. Make sure to do this without the USB drive inserted.
- After rebooting, your system should display the GRUB menu. This menu will provide you with options to boot into either Kali Linux or Windows 11.
- Select Kali Linux to boot into your new operating system. Verify that it loads correctly and that you can log in.
- Reboot your system again and select Windows 11 from the GRUB menu to ensure it also boots correctly.
Tips: Test both operating systems after installation to ensure they work properly. Keep your system updated for security and performance.
Warnings: If GRUB does not appear, you may need to troubleshoot the bootloader installation by using commands like
sudo update-grubor
grub-install /dev/sda.
Troubleshooting & Verification
If you encounter boot issues, ensure the boot order in BIOS/UEFI prioritizes the correct drive. If Kali doesn’t appear, use Boot Repair from a live USB. Verify partitioning is correct and that Secure Boot is disabled to allow dual boot functionality.
Conclusion
In summary, dual booting Kali Linux with Windows 11 is a straightforward process that allows users to leverage the strengths of both operating systems. By carefully partitioning your hard drive, creating a bootable USB, and following the installation prompts, you can successfully set up a dual boot environment. This setup not only enhances your computing experience but also provides a robust platform for security testing and development.
After completing the installation, it’s essential to familiarize yourself with the dual boot menu and ensure that both operating systems are updated. With this configuration, you can easily switch between Windows 11 and Kali Linux, maximizing productivity and versatility in your daily tasks.
Frequently Asked Questions
What is dual booting?
Dual booting is the process of installing two operating systems on a single computer, allowing users to choose which one to boot into at startup. This setup enables you to run different operating systems, such as Windows and Linux, on the same machine without the need for virtualization. When you power on your computer, a boot menu appears, allowing you to select the desired OS. This method is particularly useful for users who want to utilize the unique features of each operating system or need specific software that is only available on one of them.
Can I dual boot Kali Linux with Windows 11?
Yes, you can dual boot Kali Linux with Windows 11. Kali Linux is compatible with modern hardware and can coexist with Windows 11 on the same machine. To set up a dual boot system, you will need to create a bootable USB drive with Kali Linux and adjust your system’s boot settings. It is essential to ensure that your Windows installation is properly configured and that you have sufficient disk space for the Kali Linux installation. Following the installation process carefully will allow you to switch between the two operating systems seamlessly.
Do I need to partition my hard drive?
Yes, partitioning your hard drive is necessary for dual booting Kali Linux with Windows 11. During the installation of Kali Linux, you will need to allocate a separate partition for it, which involves resizing your existing Windows partition if needed. This process creates a dedicated space on your hard drive for Kali Linux, ensuring that both operating systems can function independently without interfering with each other. It is advisable to back up your data before partitioning to prevent any accidental loss during the process.
Will dual booting affect my Windows 11 installation?
Dual booting Kali Linux with Windows 11 should not negatively affect your Windows installation if done correctly. However, there are risks involved, such as potential data loss or boot issues if the installation steps are not followed carefully. It is crucial to back up important files and create a recovery drive for Windows 11 before proceeding. Additionally, ensure that you choose the correct partitions during the installation of Kali Linux to avoid overwriting your Windows files. If you follow the proper guidelines, both operating systems can coexist without issues.