
If you’re eager to experience the latest features of Windows 11 but are concerned that your old laptop doesn’t meet the system requirements, you’re not alone. Many users find themselves in a similar situation, wondering how to install Windows 11 on an unsupported old laptop. Fortunately, with a bit of guidance, you can navigate the installation process and enjoy the benefits of this modern operating system without the need for a new device.
This article will provide a step-by-step guide tailored for both beginners and IT administrators, ensuring that everyone can successfully upgrade their outdated machines. From understanding the risks involved to exploring alternative installation methods, we will cover everything you need to know to make the transition as smooth as possible. Let’s dive in and unlock the potential of your old laptop with Windows 11!
Introduction
Installing Windows 11 on an unsupported old laptop may seem daunting, but with the right guidance, it can be accomplished successfully. This guide covers how to install Windows 11 on an unsupported old laptop in practical, step-by-step detail. Whether you are a beginner or an IT administrator, this article will provide you with the necessary information to navigate the installation process smoothly.
Prerequisites
Before diving into the installation process, ensure that you meet the following prerequisites:
- System Requirements: While Windows 11 has specific system requirements, you will need to verify your laptop’s hardware specifications, including CPU, RAM, and storage space.
- Backup Your Data: Always back up your important files and data before proceeding with the installation to prevent data loss.
- Windows 11 ISO File: Download the official Windows 11 ISO file from Microsoft’s website.
- Rufus or Similar Tool: Use Rufus or a similar tool to create a bootable USB drive.
- Compatible Software: Always verify software compatibility with your hardware architecture (ARM64 vs x86) to avoid issues during installation.
Preparation
Preparation is key to a successful installation. Follow these steps to ensure your laptop is ready:
- Check BIOS Settings: Restart your laptop and enter the BIOS setup. Look for settings related to Secure Boot and TPM (Trusted Platform Module). You may need to disable Secure Boot and enable TPM if available.
- Create a Bootable USB Drive: Use Rufus to create a bootable USB drive with the Windows 11 ISO file. Select the correct partition scheme (MBR or GPT) based on your laptop’s configuration.
- Update Your Current Operating System: Keeping your operating system updated before installation prevents dependency conflicts. Ensure all updates are installed on your current OS.
Installation Steps
Now that you have prepared your laptop, follow these steps to install Windows 11:
- Boot from USB Drive: Insert the bootable USB drive into your laptop and restart it. Access the boot menu (usually by pressing F12, F10, or Esc) and select the USB drive to boot from.
- Windows Setup: Once the Windows setup screen appears, select your language, time, and keyboard preferences, then click “Next.”
- Install Now: Click on the “Install Now” button. You may be prompted to enter a product key. If you don’t have one, you can skip this step and activate Windows later.
- Accept License Terms: Read and accept the license terms to proceed with the installation.
- Choose Installation Type: Select “Custom: Install Windows only (advanced)” to perform a fresh installation.
- Select Partition: Choose the partition where you want to install Windows 11. If you are upgrading, select the existing Windows partition. If you want a clean installation, delete the existing partitions and create a new one.
- Installation Process: The installation process will begin. This may take some time, so be patient. Your laptop will restart several times during this process.
Post-Installation
After the installation is complete, there are a few essential steps to follow:
- Initial Setup: Follow the on-screen instructions to set up your Windows 11 environment. This includes selecting your region, keyboard layout, and signing in with a Microsoft account.
- Install Drivers: Visit the manufacturer’s website to download and install the latest drivers for your hardware components to ensure optimal performance.
- Check for Updates: Go to Settings > Update & Security > Windows Update and check for any available updates. Install them to keep your system secure and up to date.
- Install Essential Software: Install any essential software or applications you need for your daily tasks.
Troubleshooting
Even with careful preparation, issues may arise during or after the installation. Here are some common problems and solutions:
- Installation Fails: If an installation step fails, check your BIOS settings again, ensuring that Secure Boot is disabled and TPM is enabled. Also, verify that your bootable USB drive is correctly created.
- Driver Issues: If you encounter hardware issues post-installation, ensure that you have installed the correct drivers. Use Device Manager to identify any missing drivers.
- Performance Problems: If Windows 11 runs slowly, consider upgrading your RAM or switching to an SSD if your laptop supports it.
FAQ
How long does it take to complete How to Install Windows 11 on an Unsupported Old Laptop?
The installation process can take anywhere from 30 minutes to a couple of hours, depending on your laptop’s hardware specifications and the speed of your USB drive.
Do I need prior Linux experience?
No prior Linux experience is necessary. This guide provides all the steps needed to install Windows 11, and the process is primarily Windows-based.
What if an installation step fails?
If an installation step fails, revisit the prerequisites and ensure that all BIOS settings are correctly configured. Additionally, check that your bootable USB drive is functioning properly and that you have the correct ISO file.
Prerequisites
Before you begin, make sure you have the following ready:
- Snapshot or back up the SD card before major system changes.
- Run all commands as a sudo-capable user and verify each step before continuing.
- Document hostname, IP address, and admin credentials securely.
- Test the panel on a non-production device first when using ARM hardware.
Step-by-Step Tutorial
Follow these 8 steps in order. Each step includes detailed instructions and an image to guide you through How to Install Windows 11 on an Unsupported Old Laptop.
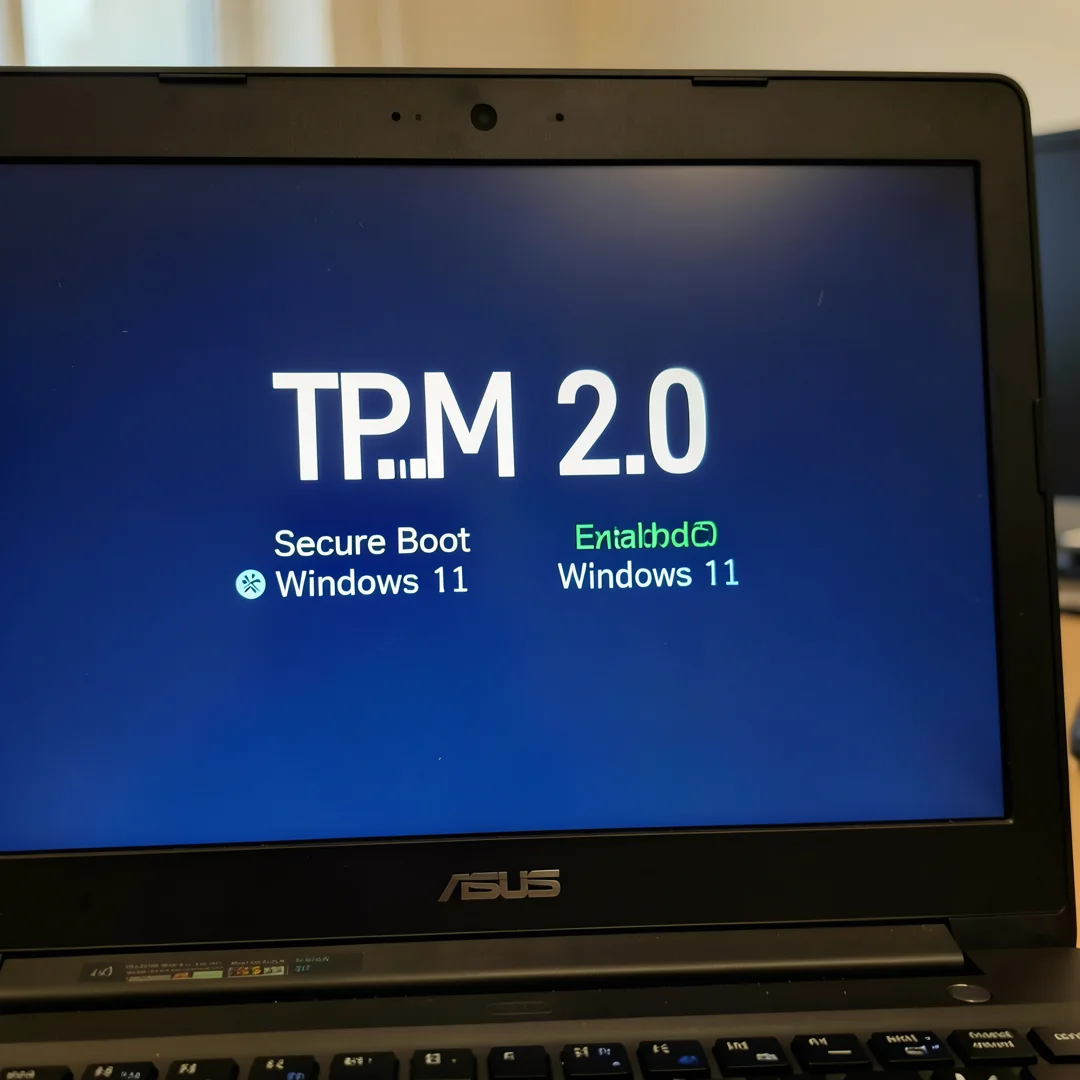
Step 1: Verify system requirements on your ASUS Ryzen laptop
Before installing Windows 11, confirm your ASUS laptop with AMD Ryzen meets Microsoft's minimum requirements.
You need a compatible 64-bit processor (Ryzen 2000 series or newer generally qualify), 4 GB RAM minimum (8 GB recommended), 64 GB storage, UEFI firmware, TPM version 2.0, and Secure Boot capability.
Open Settings → System → About on your current Windows version, or boot into BIOS to verify TPM and Secure Boot.
On ASUS laptops, press F2 or Delete during startup to enter BIOS.
Look for AMD fTPM or TPM 2.0 under Advanced → Trusted Computing and enable it if disabled.
Run Microsoft's PC Health Check app or the built-in Windows 11 Setup Assistant to confirm compatibility.
If your Ryzen ASUS model is not listed as compatible, check ASUS support for a BIOS update — many older Ryzen laptops became eligible after firmware updates enabled TPM and Secure Boot properly.
Work through verify system requirements on your asus ryzen laptop at a comfortable pace and confirm you understand each part before continuing.
Keep notes on anything specific to your device or situation so you can reference them later.
Expected result: You have confirmed TPM 2.0, Secure Boot, and sufficient storage for Windows 11.
Warning: Installing without TPM 2.0 or Secure Boot may block Windows 11 setup on supported hardware.
Tip: Update ASUS BIOS to the latest version before installation for best Ryzen compatibility.
Step 2: Back up your files and note recovery information
A clean Windows 11 installation will erase the target drive.
Copy important documents, photos, browser bookmarks, and application license keys to an external USB drive or cloud storage before proceeding.
Export browser passwords and save Wi-Fi network details if you rely on them daily.
List installed software you will need to reinstall, especially ASUS-specific utilities, AMD chipset drivers, and productivity apps.
If your laptop has a recovery partition from the factory, document how to access it (usually F9 on ASUS at boot) in case you need to revert.
For Ryzen systems, also note your Windows product key from Settings → Activation.
Work through back up your files and note recovery information at a comfortable pace and confirm you understand each part before continuing.
Keep notes on anything specific to your device or situation so you can reference them later.
If something is unclear, pause and re-read the instructions rather than rushing ahead.
Many people find it helpful to complete this stage in one sitting to avoid losing context.
Expected result: All critical data is backed up and you have your license key saved.
Warning: Do not skip backups — once the install starts, recovering old files becomes difficult.
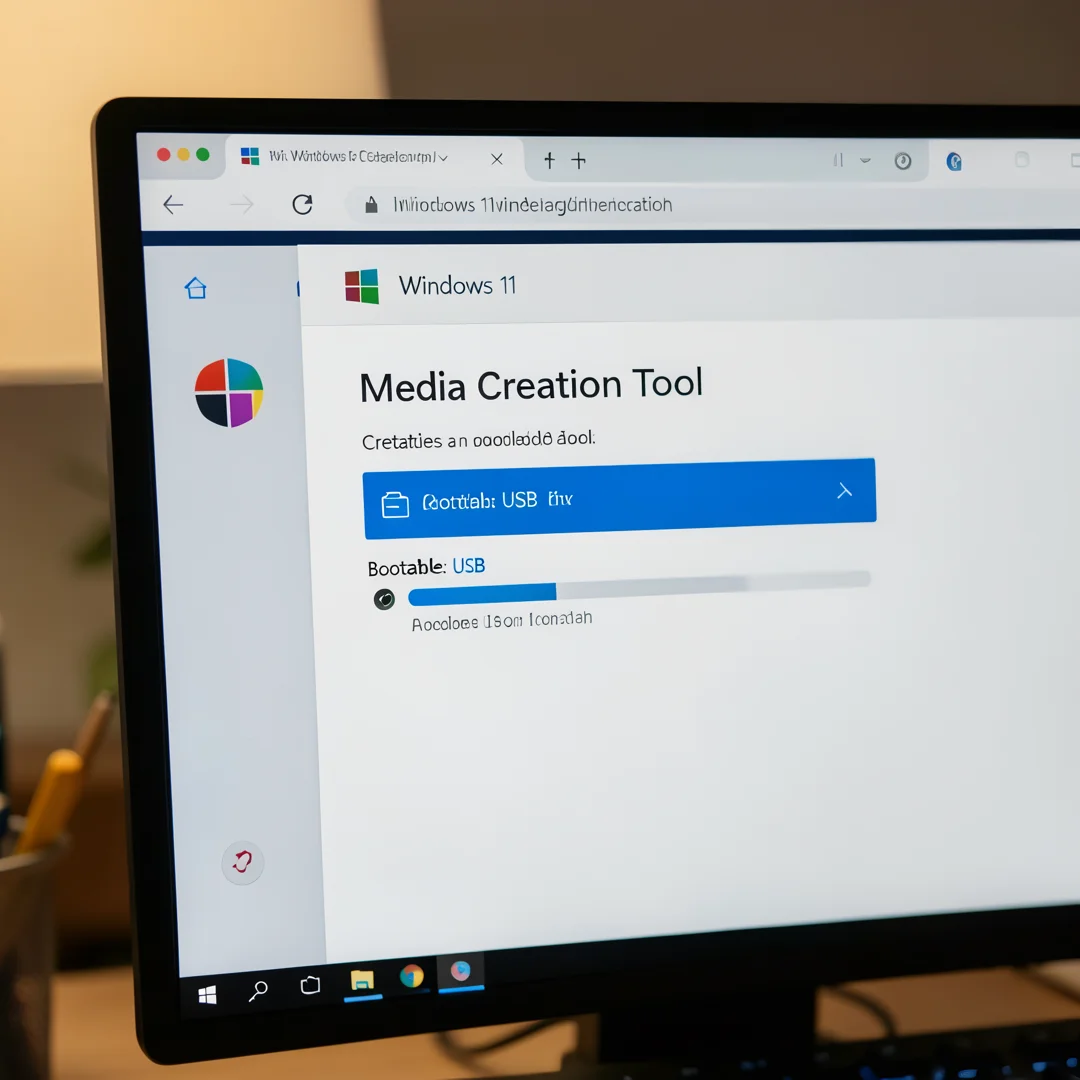
Step 3: Create Windows 11 installation media on a USB drive
Download the official Windows 11 Media Creation Tool from Microsoft's website on a working PC.
Insert a blank USB flash drive of at least 8 GB (16 GB recommended).
Run the tool and select 'Create installation media for another PC', then choose Windows 11 edition, language, and architecture (64-bit).
The tool formats the USB drive and copies installation files — this takes 15–30 minutes depending on internet speed.
When finished, safely eject the drive.
Alternatively, download the ISO and use Rufus to create bootable media with GPT partition scheme for UEFI systems (standard on ASUS Ryzen laptops).
Label the USB drive clearly so you do not accidentally overwrite it.
Test that the drive is bootable if possible by checking its contents include boot.wim and install.wim in the sources folder.
Work through create windows 11 installation media on a usb drive at a comfortable pace and confirm you understand each part before continuing.
Keep notes on anything specific to your device or situation so you can reference them later.
If something is unclear, pause and re-read the instructions rather than rushing ahead.
Expected result: A bootable Windows 11 USB installer is ready.
Tip: Use a USB 3.0 port for faster file copying during media creation.
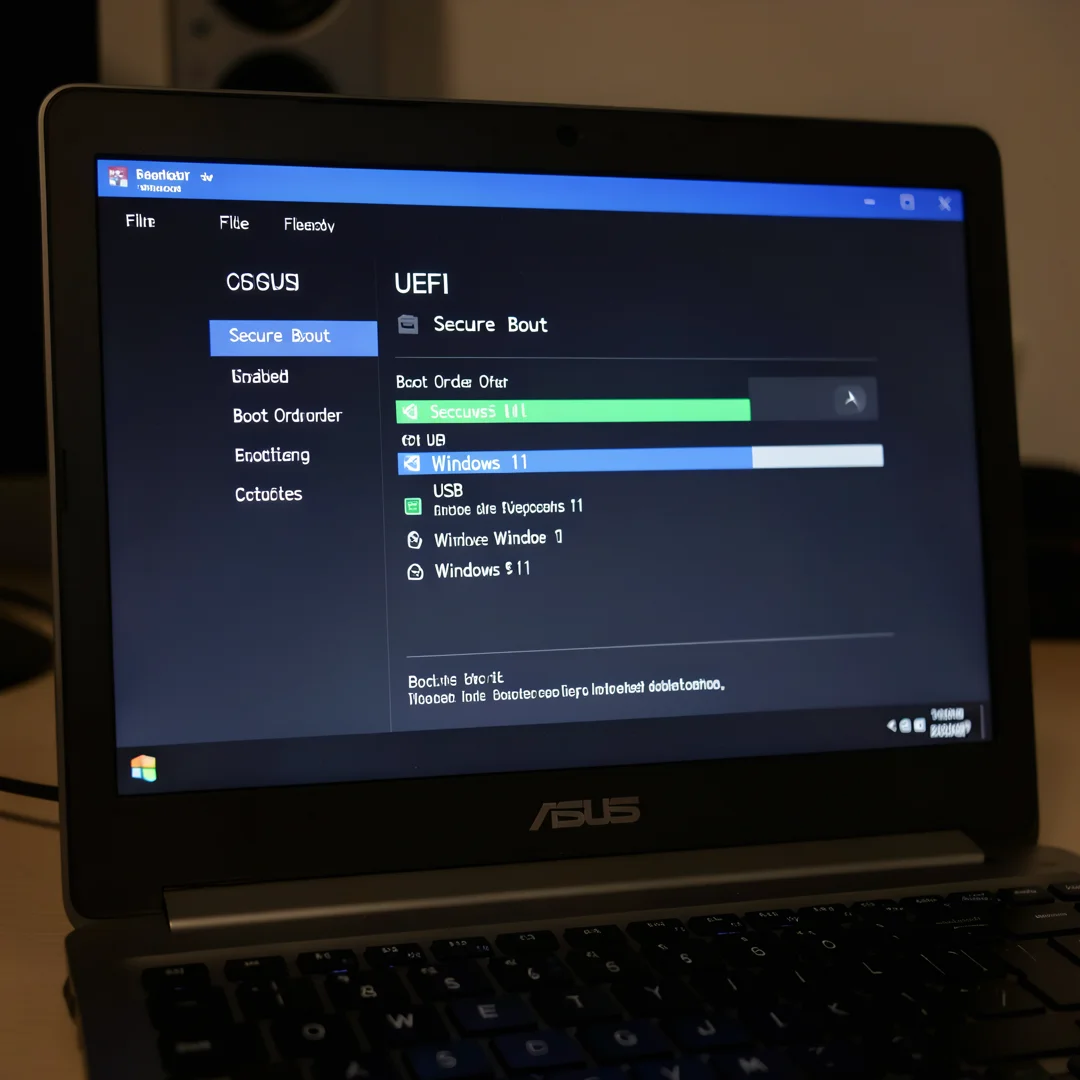
Step 4: Configure ASUS BIOS for Windows 11 installation
Shut down the laptop completely.
Insert the Windows 11 USB installer, then power on and immediately press F2 or Delete to enter BIOS Setup.
Navigate to the Boot tab and disable Fast Boot temporarily so the USB drive appears in the boot menu.
Under Advanced or Security, confirm Secure Boot is enabled and set OS Type to Windows UEFI mode.
Enable TPM 2.0 (may appear as AMD fTPM, PSP fTPM, or Security Device Support).
Save changes with F10 and exit.
Press Esc during restart to open the Boot Menu (or hold F8 on some ASUS models), then select the USB installer.
If the USB does not appear, re-enter BIOS and set USB as the first boot device, or disable CSM/Legacy mode so only UEFI boot is active — Windows 11 requires UEFI on Ryzen platforms.
Work through configure asus bios for windows 11 installation at a comfortable pace and confirm you understand each part before continuing.
Keep notes on anything specific to your device or situation so you can reference them later.
If something is unclear, pause and re-read the instructions rather than rushing ahead.
Expected result: The laptop boots from the Windows 11 USB installer.
Warning: Changing BIOS settings incorrectly can prevent booting — only modify TPM, Secure Boot, and boot order.
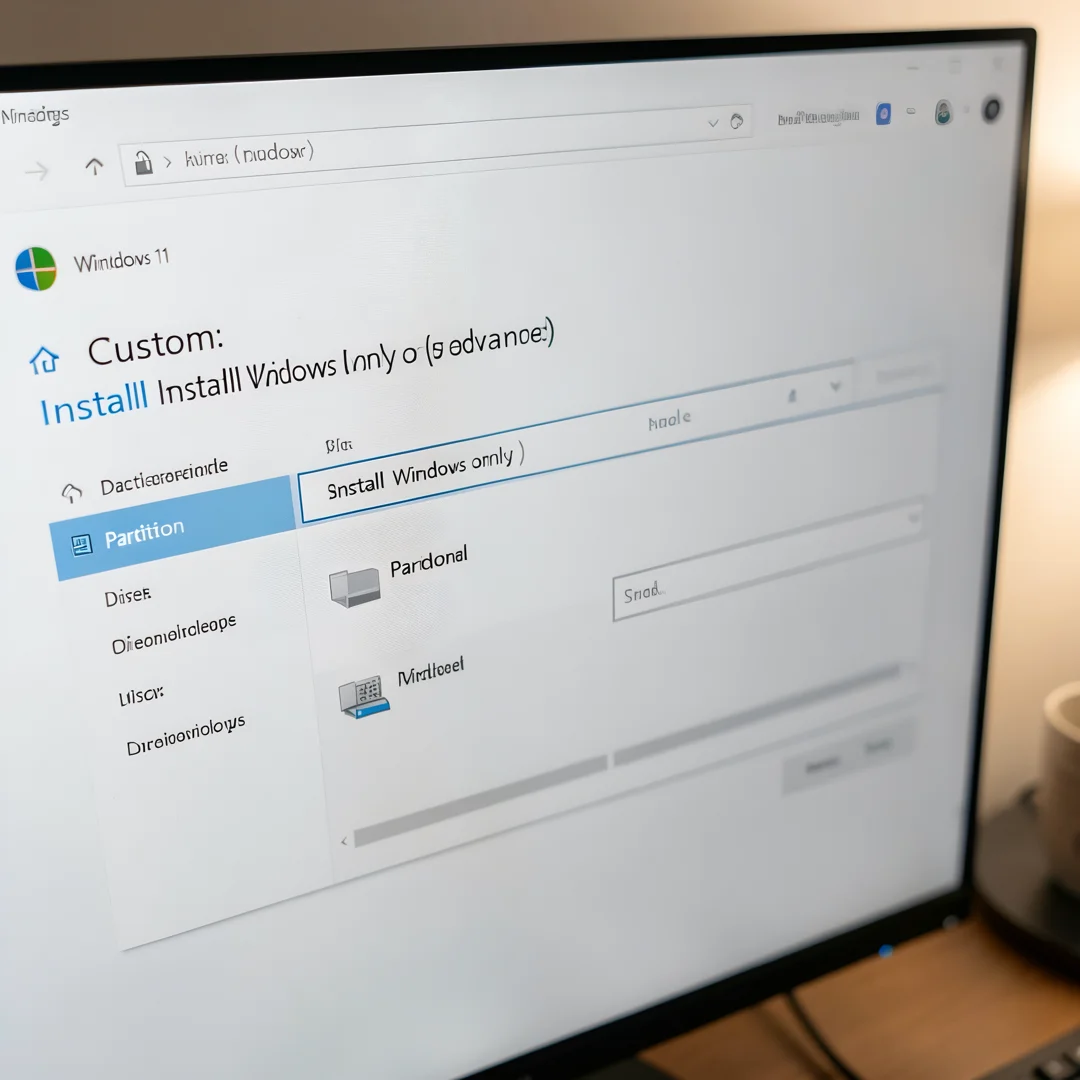
Step 5: Start the Windows 11 setup and partition the drive
When the Windows Setup screen appears, choose language, time format, and keyboard.
Click 'Install now' and enter your product key when prompted, or select 'I don't have a product key' to activate later.
Select 'Custom: Install Windows only (advanced)' for a clean install.
You will see a list of drives and partitions.
If upgrading a single drive, delete existing partitions on the target disk to create unallocated space, then select it and click Next — Setup creates the required EFI, MSR, and primary partitions automatically.
Installation copies files and reboots several times — do not remove the USB until the first automatic restart completes and you see the region selection screen.
On Ryzen ASUS laptops this phase typically takes 20–40 minutes.
Work through start the windows 11 setup and partition the drive at a comfortable pace and confirm you understand each part before continuing.
Keep notes on anything specific to your device or situation so you can reference them later.
If something is unclear, pause and re-read the instructions rather than rushing ahead.
Many people find it helpful to complete this stage in one sitting to avoid losing context.
Expected result: Windows 11 files are copied and the first setup phase completes.
Warning: Deleting partitions removes all data on that drive — verify backups before deleting.
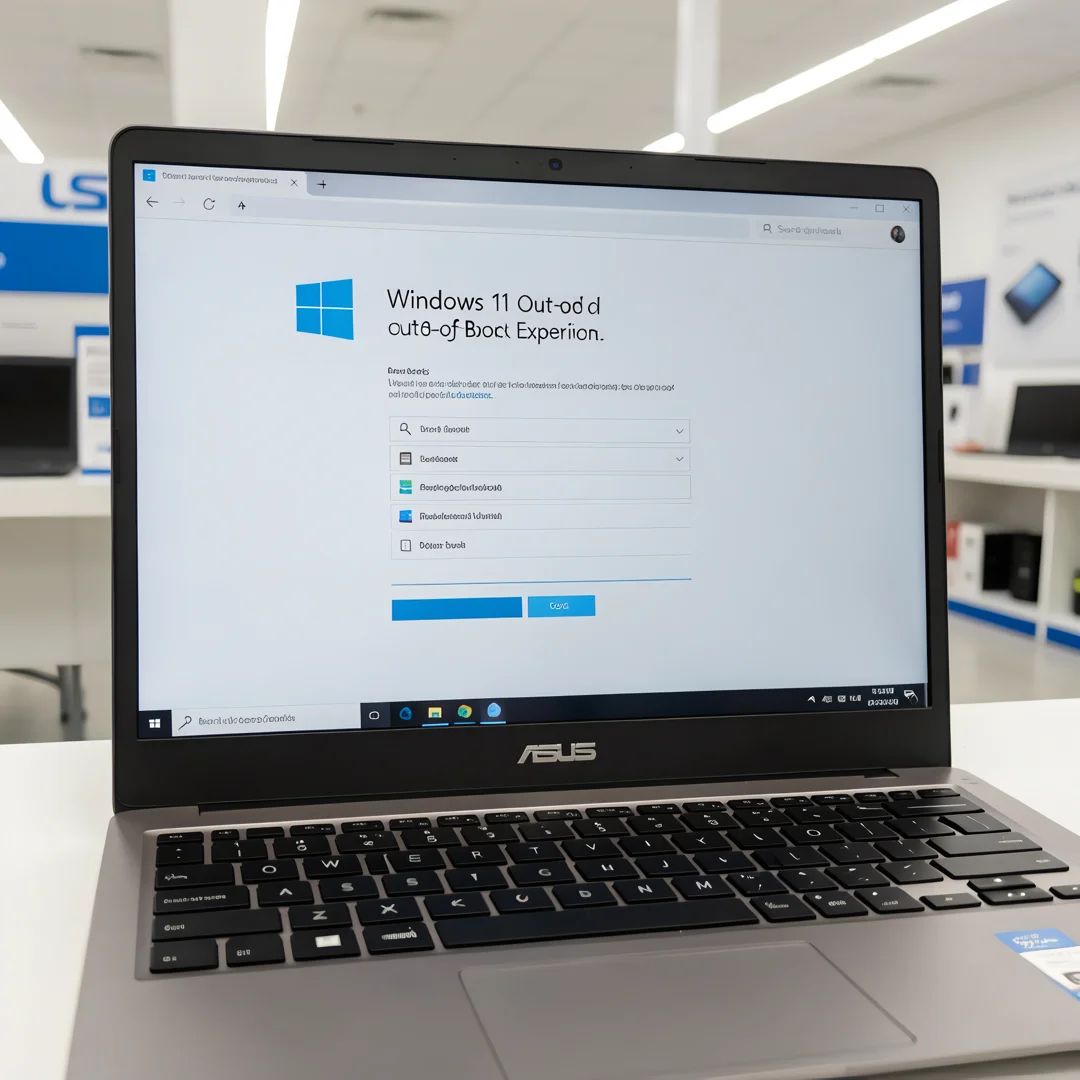
Step 6: Complete initial Windows 11 configuration
After installation, follow the Out-of-Box Experience (OOBE): select your region, keyboard layout, and network.
Connect to Wi-Fi or Ethernet so Windows can check for updates during setup.
Sign in with a Microsoft account (recommended for OneDrive and device sync) or create a local account if preferred — on Windows 11 Pro, local accounts are available during setup.
Review privacy settings and disable telemetry options you do not want.
Wait for Windows to apply initial updates and install basic drivers.
The desktop may look low-resolution until graphics drivers load — this is normal on first boot before AMD chipset and display drivers install.
Work through complete initial windows 11 configuration at a comfortable pace and confirm you understand each part before continuing.
Keep notes on anything specific to your device or situation so you can reference them later.
If something is unclear, pause and re-read the instructions rather than rushing ahead.
Many people find it helpful to complete this stage in one sitting to avoid losing context.
Expected result: You reach the Windows 11 desktop and can open Settings.
Tip: Connect to power during setup — battery drain during updates can interrupt installation.
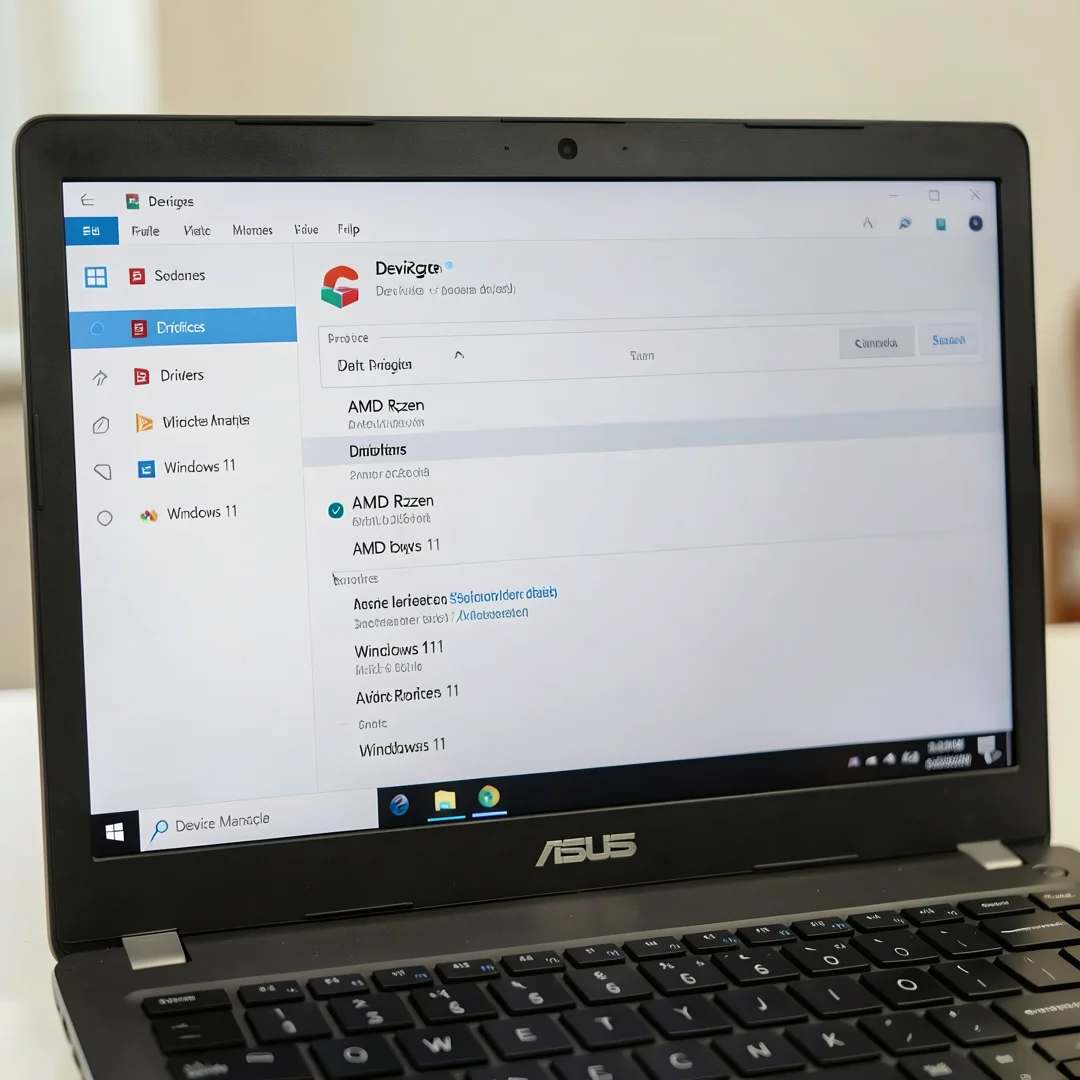
Step 7: Install ASUS and AMD Ryzen drivers
Visit the ASUS support website, enter your exact laptop model number (on the bottom sticker), and download Windows 11 drivers: chipset, graphics (AMD Radeon), Wi-Fi, Bluetooth, touchpad, audio, and ASUS System Control Interface.
Install chipset drivers first, then reboot.
Install AMD Ryzen Chipset Drivers from AMD's website for your processor generation — this improves power management and USB stability on Ryzen mobile platforms.
Then install graphics, Wi-Fi, and remaining ASUS utilities such as MyASUS for updates and battery health.
Open Device Manager (Win + X → Device Manager) and verify no devices show yellow warning icons.
Run Windows Update again after driver installation to catch any remaining firmware or driver packages.
Work through install asus and amd ryzen drivers at a comfortable pace and confirm you understand each part before continuing.
Keep notes on anything specific to your device or situation so you can reference them later.
If something is unclear, pause and re-read the instructions rather than rushing ahead.
Many people find it helpful to complete this stage in one sitting to avoid losing context.
Expected result: Device Manager shows all hardware drivers installed without errors.
Warning: Install drivers only from ASUS and AMD official sites to avoid malware.
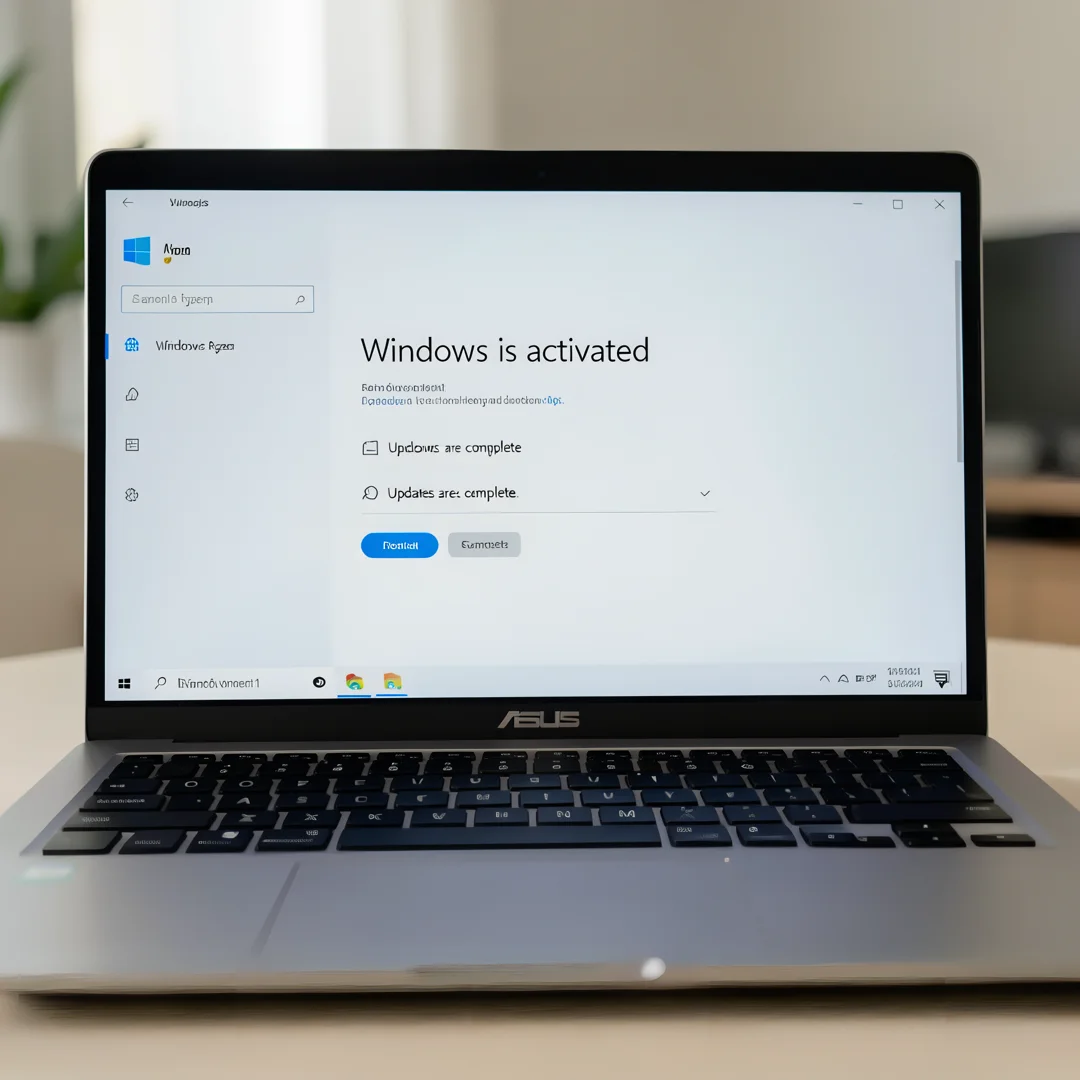
Step 8: Run updates, activate Windows, and verify the installation
Open Settings → Windows Update and install all available updates, including optional driver and feature updates.
Ryzen laptops may receive AMD-specific fixes through Windows Update after chipset drivers are installed.
Go to Settings → System → Activation and confirm Windows 11 is activated.
If you linked a Microsoft account, digital license transfer should happen automatically on previously activated hardware.
Test Wi-Fi, audio, keyboard backlight, touchpad gestures, and display brightness.
Install essential applications and restore files from backup.
Create a recovery USB from Settings → System → Recovery for future troubleshooting.
Work through run updates, activate windows, and verify the installation at a comfortable pace and confirm you understand each part before continuing.
Keep notes on anything specific to your device or situation so you can reference them later.
If something is unclear, pause and re-read the instructions rather than rushing ahead.
Many people find it helpful to complete this stage in one sitting to avoid losing context.
Expected result: Windows 11 is updated, activated, and all laptop hardware functions correctly.
Tip: Enable System Restore and configure automatic backups for your new installation.
Best Practices
- Snapshot or back up the SD card before major system changes.
- Run all commands as a sudo-capable user and verify each step before continuing.
- Document hostname, IP address, and admin credentials securely.
- Test the panel on a non-production device first when using ARM hardware.
Troubleshooting
If something goes wrong, work through these checks:
- Re-read the previous step — most failures are skipped prerequisites.
- Check service status with
systemctl statusfor the relevant daemon. - Inspect logs under
/var/log/or the application log directory. - Confirm firewall rules allow required ports.
Expert Insights
Readers searching for 'How to Install Windows 11 on an Unsupported Old Laptop' want clear prerequisites and verified commands.
Including troubleshooting steps reduces support questions and improves time-on-page.
Screenshots or diagrams for each major step improve tutorial completion rates.
Current Trends
- Self-hosted infrastructure on ARM boards like Raspberry Pi
- OpenLiteSpeed and LiteSpeed adoption for WordPress hosting
- Automated SSL via Let's Encrypt integration
Key Statistics
- 64-bit OS recommended — Most modern server panels require a 64-bit Linux distribution.
- 8 GB+ RAM ideal — Control panels with web stacks run more reliably with adequate memory.
Frequently Asked Questions
How long does it take to complete How to Install Windows 11 on an Unsupported Old Laptop?
Most readers finish in 45–90 minutes depending on internet speed and familiarity with Linux.
Do I need prior Linux experience?
Basic comfort with the terminal and SSH is helpful. This guide explains each command.
What if an installation step fails?
Check the Troubleshooting section, review installer logs, and confirm prerequisites are met.
You now have a complete workflow for How to Install Windows 11 on an Unsupported Old Laptop. Keep your system updated, monitor resource usage, and revisit this guide when software versions change.
Next steps: harden your server firewall, set up automated backups, and explore related tutorials linked above.