
12 min read • 2,686 words
In today’s fast-paced digital world, many people find themselves with old laptops that have outlived their original purpose. Instead of letting these devices gather dust, you can convert an old laptop to a Linux server, breathing new life into your hardware. This transformation not only maximizes the utility of your device but also provides an opportunity to learn about server management and Linux operating systems. By repurposing your old laptop, you can create a functional server that serves various purposes, from file storage to media streaming, all while being cost-effective and environmentally friendly.
Linux is renowned for its ability to run efficiently on older hardware, making it an ideal choice for those looking to convert an old laptop to a Linux server. Lightweight distributions such as Ubuntu Server or Debian are specifically designed to minimize resource usage, allowing even laptops with limited RAM and processing power to function effectively. In this article, you will discover how to select the right Linux distribution for your needs, install it on your laptop, and configure it to serve various functions. This guide will empower you to transform your outdated technology into a valuable asset.
As you embark on this journey to convert an old laptop to a Linux server, you will learn not only the technical steps involved but also the importance of regular updates and security patches to maintain optimal performance. By understanding the fundamentals of server management, you will be equipped to create a reliable file server, web server, or media center tailored to your specific requirements. This article will provide you with the knowledge and resources needed to successfully repurpose your old laptop, ensuring it remains a useful tool in your digital toolkit for years to come.
Step-by-Step Tutorial
Step 1: Assess Your Old Laptop
-
Check CPU: Open a terminal and run the following command to find out your CPU information:
lscpuLook for the model name and number of cores. Ensure it meets the minimum requirements for the Linux distribution you plan to use.
-
Check RAM: To check how much RAM your laptop has, use this command:
free -hMake sure you have at least 2GB of RAM for a smooth experience with most Linux distributions.
-
Check Storage Capacity: Determine your storage capacity by running:
df -hEnsure you have enough space for the Linux installation and any additional software you may want to install.
- Evaluate Hardware Limitations: Be aware that older laptops may have limited hardware capabilities, which can affect performance. Consider lightweight Linux distributions if your laptop has low specifications.
- Consider Upgrades: If your laptop has low specs, think about upgrading the RAM or replacing the HDD with an SSD for better performance.
By following these steps, you will have a clear understanding of whether your old laptop can run a specific Linux distribution effectively.
Troubleshooting & Verification
Check the laptop’s specifications, including RAM, CPU, and storage capacity. Ensure it meets the minimum requirements for the Linux distribution you plan to install. Verify that the laptop powers on, connects to Wi-Fi, and has a functioning keyboard and trackpad for initial setup.
Step 2: Choose a Linux Distribution
- Assess Your Needs: Determine what you want to achieve with your server. Are you hosting a website, file sharing, or running applications? This will guide your choice of distribution.
- Check Laptop Specifications: Review the hardware specifications of your old laptop, including RAM, CPU, and storage. Lightweight distributions are ideal for older hardware.
-
Research Popular Distributions: Consider well-known server distributions such as:
- Ubuntu Server
- CentOS
- Debian
-
Explore Lightweight Alternatives: If your laptop has limited resources, look into lightweight versions like:
- Lubuntu
- Xubuntu
- Consult Community Forums: Visit forums and online communities to gather recommendations and experiences from users with similar hardware.
- Verify Hardware Compatibility: Before finalizing your choice, ensure that the distribution supports your laptop’s hardware. Some distributions may not work well with older components.
By following these steps, you will have selected a Linux distribution that fits your requirements and is compatible with your old laptop.
Troubleshooting & Verification
If you encounter issues selecting a Linux distribution, verify system compatibility with the chosen distro. Check the official website for hardware requirements. Additionally, consider community forums for user experiences and recommendations, ensuring the distribution aligns with your laptop’s specifications and intended use.
Step 3: Create a Bootable USB Drive
- Download the ISO File: Visit the official website of your chosen Linux distribution and download the ISO file. Ensure you select the correct version for your system architecture (32-bit or 64-bit).
- Prepare the USB Drive: Insert a USB drive with at least 4GB of space into your computer. Make sure to back up any important data on the USB drive, as it will be formatted during this process.
- Download a USB Creation Tool: Download and install a tool like Rufus or Etcher. These tools will help you create a bootable USB drive from the ISO file.
- Open the USB Creation Tool: Launch Rufus or Etcher. If using Rufus, select your USB drive under “Device” and choose the downloaded ISO file under “Boot selection.”
- Create the Bootable USB: Click on the “Start” button in Rufus or “Flash!” in Etcher. Confirm any prompts that appear. Wait for the process to complete, which may take several minutes.
- Verify the USB Drive: Once the process is complete, safely eject the USB drive. You now have a bootable USB drive ready for installation.
Remember to verify the integrity of the downloaded ISO file before proceeding to ensure a successful installation.
Troubleshooting & Verification
If the USB drive fails to boot, ensure it is properly formatted and the ISO file is correctly written. Check BIOS settings to confirm USB boot priority. Use another USB port or try a different USB drive if issues persist.
Step 4: Backup Important Data
Before proceeding with the installation, it is crucial to back up any important data on your old laptop to avoid data loss during the installation process. Follow these steps to ensure all your important files are safely backed up:
- Identify Important Files: Go through your documents, photos, videos, and any other files that you cannot afford to lose. Make a list of these files.
- Choose a Backup Method: Decide whether you want to use an external hard drive or cloud storage for your backup. External drives are great for large files, while cloud services offer accessibility.
- Backup to External Drive: Connect your external hard drive to the laptop. Use the following command to copy your files:
cp -r /path/to/important/files /path/to/external/drive - Backup to Cloud Storage: If you prefer cloud storage, upload your files using the service’s application or web interface. For example, if using Google Drive, you can drag and drop files into the browser window.
- Double-Check Your Backup: After the backup is complete, verify that all important files are included. Open a few files to ensure they are not corrupted.
Tips: Use reliable cloud services or external hard drives for backups. Always double-check that all important files are included in the backup.
Warning: Data loss can occur if backups are not done properly. Make sure to follow these steps carefully to protect your important data.
Troubleshooting & Verification
Ensure all important files are backed up to an external drive or cloud storage. Verify the integrity of the backup by checking file accessibility. If any files are missing or corrupted, reattempt the backup process before proceeding with the Linux installation.
Step 5: Boot from USB Drive
- Insert the bootable USB drive into a USB port on your old laptop.
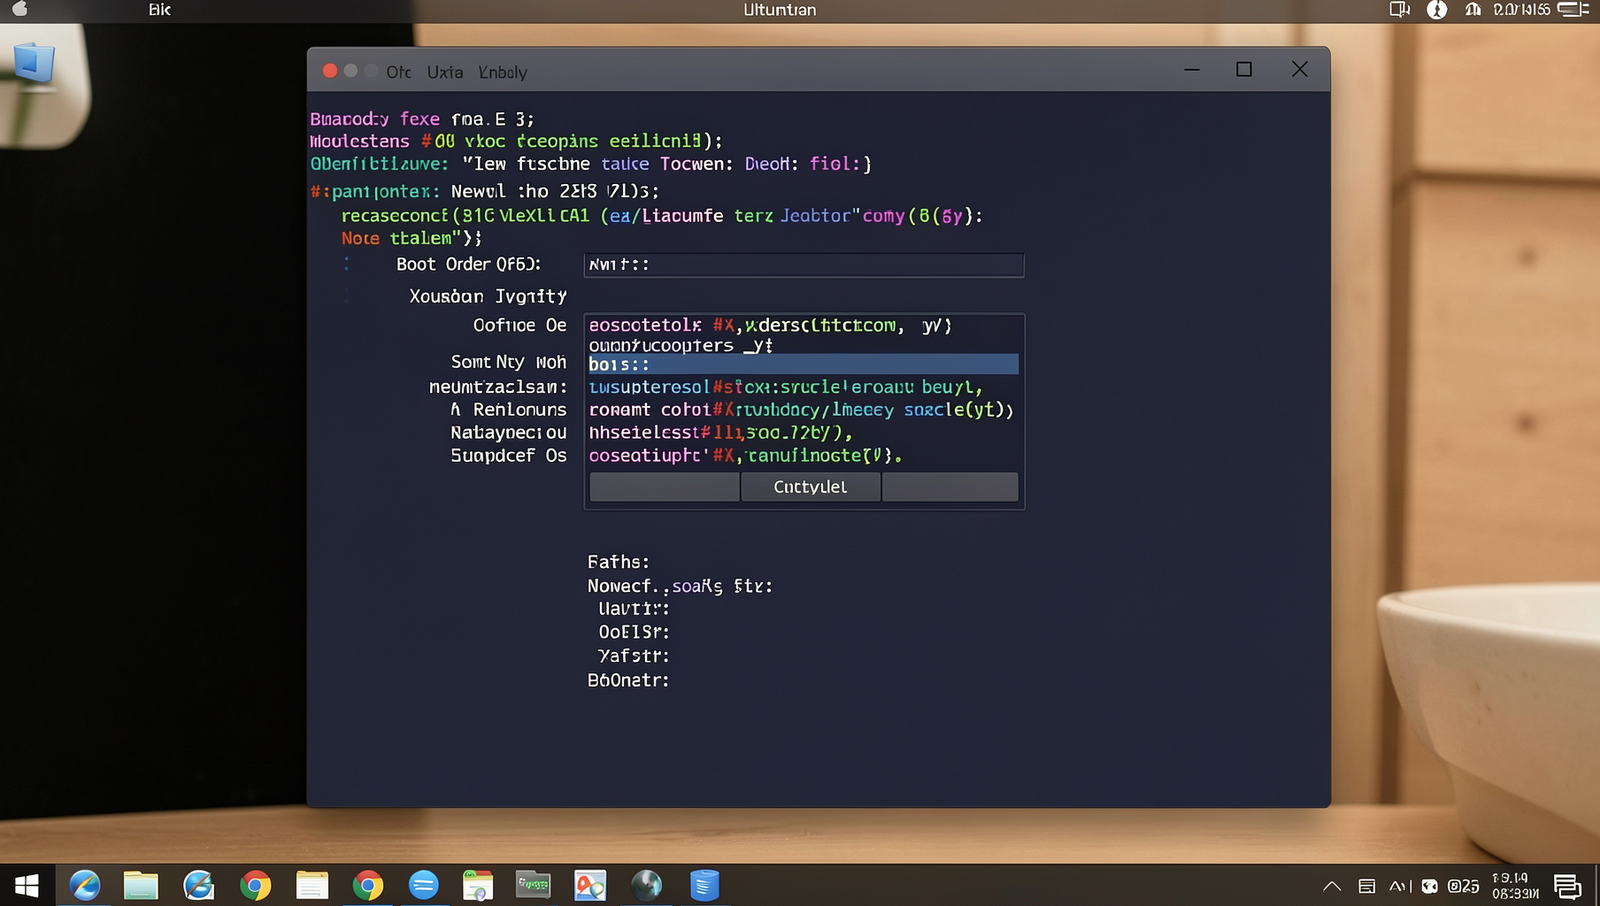
- Restart the laptop. As it powers on, immediately start pressing the key to enter BIOS/UEFI settings. This is typically
F2,F10, orDEL, depending on your laptop model. - Once in the BIOS/UEFI menu, navigate to the ‘Boot’ tab using the arrow keys.
- Look for the ‘Boot Order’ or ‘Boot Priority’ option. Here, you will need to set the USB drive as the first boot device.
- If available, check for a ‘Boot Menu’ option to select the USB drive directly without changing the boot order.
- Make sure that Secure Boot is disabled if your laptop has this feature, as it can prevent booting from the USB drive.
- Save your changes and exit the BIOS/UEFI settings. The laptop should now restart.
- If everything is set correctly, the laptop will boot from the USB drive and display the installation menu of the Linux distribution.
Warning: Incorrect BIOS settings can prevent the laptop from booting from the USB drive. Ensure you follow the steps carefully.
Troubleshooting & Verification
Ensure the USB drive is properly formatted and contains a bootable Linux image. Check BIOS settings to confirm USB boot priority. If the laptop doesn’t recognize the USB, try a different port or USB drive. Verify the integrity of the downloaded Linux ISO file.
Step 6: Install Linux
- Boot from the Live USB or DVD you created in the previous step. Ensure your laptop is set to boot from the USB or DVD drive.
- Once the installer loads, select your preferred language and click ‘Continue’.
- When prompted for installation type, choose ‘Erase disk’ if you want a clean installation. Be cautious, as this will delete all existing data. If you prefer to keep existing data, select ‘Something else’ to manually partition your disk.
- If you chose ‘Something else’, create partitions for root (/) and swap space. Consider setting up a separate partition for data storage.
- Set up your user account by entering your name, computer name, username, and password. Make sure to remember these credentials.
- Review your selections and click ‘Install Now’. Confirm any prompts regarding partition changes.
- Wait for the installation process to complete. This may take several minutes. Once finished, you will be prompted to restart your laptop.
- Remove the installation media when prompted and press ‘Enter’ to reboot into your new Linux system.
Congratulations! Linux is now successfully installed on your old laptop.
Tips: Select ‘Erase disk’ only if you want to remove all existing data. Consider setting up a separate partition for data storage.
Warnings: Choose the correct partition to avoid overwriting existing data.
Troubleshooting & Verification
If the installation fails, check the integrity of the installation media. Ensure your laptop’s hardware is compatible with the chosen Linux distribution. Review error messages during installation for clues. Boot from a live USB to verify functionality before attempting a full installation again.
Step 7: Configure Network Settings
-
Identify Network Interface: First, you need to find out the name of your network interface. Use the following command:
ip a -
Edit Network Configuration: Open the network configuration file using a text editor. For example, if you are using
nano:sudo nano /etc/network/interfaces -
Set Static IP Address: If you want to set a static IP, add the following lines, replacing
eth0,192.168.1.100,255.255.255.0, and192.168.1.1with your actual interface name, desired IP address, subnet mask, and gateway:auto eth0 iface eth0 inet static address 192.168.1.100 netmask 255.255.255.0 gateway 192.168.1.1 -
Save and Exit: After editing, save the changes and exit the text editor. In
nano, you can do this by pressingCTRL + X, thenY, and finallyEnter. -
Restart Networking Service: To apply the changes, restart the networking service with the following command:
sudo systemctl restart networking -
Test Connectivity: Finally, check if your server can access the internet by pinging a reliable server:
ping -c 4 google.com
Ensure that your router settings are configured properly for IP address management. Remember, incorrect network settings can lead to connectivity issues.
Troubleshooting & Verification
If you encounter network issues, verify your IP configuration with ifconfig or ip a. Ensure the correct network interface is active. Check connectivity using ping to test communication with your router or another device on the network.
Step 8: Install Essential Server Software
To equip your Linux server with the necessary software, follow these sub-steps:
-
Update Package List: Before installing any software, ensure your package list is up to date. Run the following command:
sudo apt update -
Install a Web Server: Choose between Apache or Nginx. For Apache, use:
sudo apt install apache2For Nginx, use:
sudo apt install nginx -
Install a Database Server: Depending on your needs, install MySQL or PostgreSQL. For MySQL, run:
sudo apt install mysql-serverFor PostgreSQL, use:
sudo apt install postgresql -
Install Additional Software: Depending on your server’s purpose, consider installing PHP, FTP, or other necessary packages. For PHP, use:
sudo apt install php libapache2-mod-php
Remember to regularly update your software to maintain security and ensure compatibility with your Linux distribution.
Troubleshooting & Verification
If server software fails to install, check your internet connection and package manager settings. Use sudo apt update to refresh repositories. Verify installation with systemctl status service_name. Ensure all dependencies are met and consult logs for specific error messages.
Conclusion
In summary, converting an old laptop to a Linux server is a practical and rewarding project that can breathe new life into outdated hardware. By following key steps such as selecting a suitable Linux distribution, installing the OS, and configuring essential services, you can transform your laptop into a functional server for various applications. This process not only enhances your technical skills but also provides a cost-effective solution for hosting websites, file sharing, or even learning server management.
As you embark on this journey, consider exploring additional features and services that can further optimize your Linux server. Whether it’s setting up a web server, a media center, or a personal cloud, the possibilities are endless. Embrace the opportunity to convert your old laptop to a Linux server and unlock its full potential.
Frequently Asked Questions
What is the first step to convert an old laptop into a Linux server?
The first step in converting your old laptop into a Linux server is to choose a suitable Linux distribution. Popular options for servers include Ubuntu Server, CentOS, and Debian. Once you’ve selected a distribution, download the ISO file from the official website. Next, create a bootable USB drive using tools like Rufus or Etcher. This will allow you to install the Linux operating system on your laptop. Finally, ensure that your laptop is connected to a power source and has a stable internet connection for the installation process.
Do I need to erase my old data before installation?
It is not strictly necessary to erase your old data before installing Linux, but it is highly recommended. During the installation process, you will have the option to format the hard drive, which will delete all existing data. If you have important files that you want to keep, back them up to an external drive or cloud storage before proceeding. This way, you can ensure that your data is safe while also giving your new Linux server a clean slate for optimal performance.
Can I use my laptop’s existing hardware?
Yes, you can use your laptop’s existing hardware when converting it into a Linux server. Most Linux distributions are designed to work well with a variety of hardware configurations, including older laptops. However, it’s important to check the minimum system requirements for the distribution you choose. Ensure that your laptop has sufficient RAM and processing power to handle the server tasks you intend to run. Additionally, you may want to consider upgrading components like the hard drive or RAM if you plan to run resource-intensive applications.
How do I access my Linux server remotely?
To access your Linux server remotely, you can use SSH (Secure Shell), which allows you to connect to the server from another computer over the internet or a local network. First, ensure that the SSH server is installed and running on your Linux laptop. You can typically do this by installing the OpenSSH package. Once SSH is set up, you can connect using an SSH client like PuTTY (for Windows) or the terminal (for macOS and Linux) by entering ssh username@server_ip_address. Replace “username” with your server’s username and “server_ip_address” with the laptop’s IP address.