

9 min read • 1,855 words
In today’s tech-driven world, knowing how to install Linux on a Chromebook can significantly enhance your device’s capabilities. With the rise of remote work and programming, many users are looking for ways to run Linux applications alongside their Chrome OS environment. Crostini, the technology that enables this integration, allows users to run Linux applications seamlessly in a secure, containerized environment. This guide will walk you through the steps to enable Crostini on your Chromebook, ensuring you can leverage the power of Linux without compromising the security of your device.
Understanding how to install Linux on a Chromebook is essential for anyone looking to expand their computing options. Whether you’re a developer needing specific tools or a casual user wanting to explore new software, Crostini provides a robust solution. By utilizing your Chromebook’s Intel or ARM processor, you can run graphical Linux applications that integrate smoothly with the Chrome OS interface. This guide will not only show you how to set up Crostini but also highlight the benefits of using Linux applications on your Chromebook.
As you delve into this guide on how to install Linux on a Chromebook, you will discover the versatility that Crostini brings to your device. With the ability to install Linux apps via the terminal or a package manager like APT, you can customize your Chromebook to suit your needs. This installation process opens up a world of possibilities, from programming and software development to running specialized applications that are not available on Chrome OS. By the end of this guide, you will be equipped with the knowledge to transform your Chromebook into a powerful Linux workstation.
Step-by-Step Tutorial
Step 1: Enable Linux (Crostini) on Chromebook
- Click on the time in the bottom right corner of your Chromebook’s screen.
- Select the gear icon to open the Settings menu.
- In the Settings menu, scroll down and click on ‘Advanced’ to expand additional options.
- Locate the ‘Developers’ section and click on ‘Turn On’ next to ‘Linux development environment (Beta)’.
- A pop-up will appear; click ‘Install’ to begin the installation process.
- Wait for the installation to complete. This may take several minutes.
- Once installed, a terminal window will open, indicating that Linux (Crostini) is now running on your Chromebook.
Make sure you have enough storage space available for the Linux installation. It’s also a good idea to back up any important data before proceeding. Ensure your Chromebook is updated to the latest version of Chrome OS before enabling Linux.
Troubleshooting & Verification
If you encounter issues enabling Linux, ensure your Chromebook is updated to the latest version of Chrome OS. Check that your device supports Crostini by visiting the official Chromebook support page. Restart your Chromebook and try enabling Linux again. If problems persist, consider resetting your Chromebook to factory settings.
Step 2: Set Up Linux Environment
- Once Linux is enabled, a terminal window will open automatically. This terminal is your Linux command line interface.
- To customize the terminal, click on the three vertical dots in the top-right corner of the terminal window. From the dropdown menu, select “Preferences” to adjust settings such as font size and color scheme.
- Familiarize yourself with basic Linux commands. Start by typing
lsto list files and directories in your current location.
- To navigate through directories, use the
cdcommand followed by the directory name. For example,
cd Documentstakes you to the Documents folder.
- Remember to avoid closing the terminal during setup, as it may interrupt the installation process. Keep it open and ready for use.
Troubleshooting & Verification
If you encounter issues while setting up your Linux environment, ensure your Chromebook is up to date. Restart your device and check for any error messages. You can verify the installation by opening the Terminal and running uname -a to confirm the Linux kernel version is displayed correctly.
Step 3: Update Linux Packages
-
Open the Terminal on your Chromebook. You can do this by pressing
Ctrl + Alt + Tor by searching for “Terminal” in your app launcher. -
In the Terminal, type the following command to refresh the package list:
sudo apt updateThis command retrieves the latest package information from the repositories.
-
After the package list is updated, run the following command to install any available updates:
sudo apt upgradeThis command will prompt you to confirm the installation of updates. Type
Yand pressEnterto proceed. -
Optionally, you can run this command to handle dependencies and install any additional packages:
sudo apt dist-upgrade
Ensure you have an internet connection before running these commands. Running these commands regularly will help keep your Linux environment secure and up to date. You should see messages indicating that all packages are updated successfully without errors.
Troubleshooting & Verification
If you encounter issues while updating Linux packages, ensure your internet connection is stable. Run sudo apt update to refresh the package list. If errors persist, check for available disk space using df -h. You may also need to restart the Linux container with lxc restart penguin.
Step 4: Install Essential Software
- Decide on Software: Determine which software you need for your tasks. Popular choices include text editors, development tools, and utilities.
- Open Terminal: Launch the Terminal application from your Chromebook’s app drawer.
-
Update Package List: Before installing new software, ensure your package list is up to date by running:
sudo apt update -
Install Software: To install a specific software, use the following command format:
sudo apt install [package-name]For example, to install the text editor ‘nano’, type:
sudo apt install nano -
Verify Installation: After installation, check if the software is installed correctly by running:
[package-name] --version
Ensure you have enough storage space for the software you are installing. You can install multiple packages at once by listing them in the install command, separated by spaces. Always check the official documentation for additional installation options and configurations.
Troubleshooting & Verification
If you encounter issues during installation, ensure your Chromebook is updated to the latest Chrome OS version. Verify that your Linux container is running by checking the terminal. If software fails to install, try restarting the Linux container or reinstalling the package using sudo apt-get install package-name.
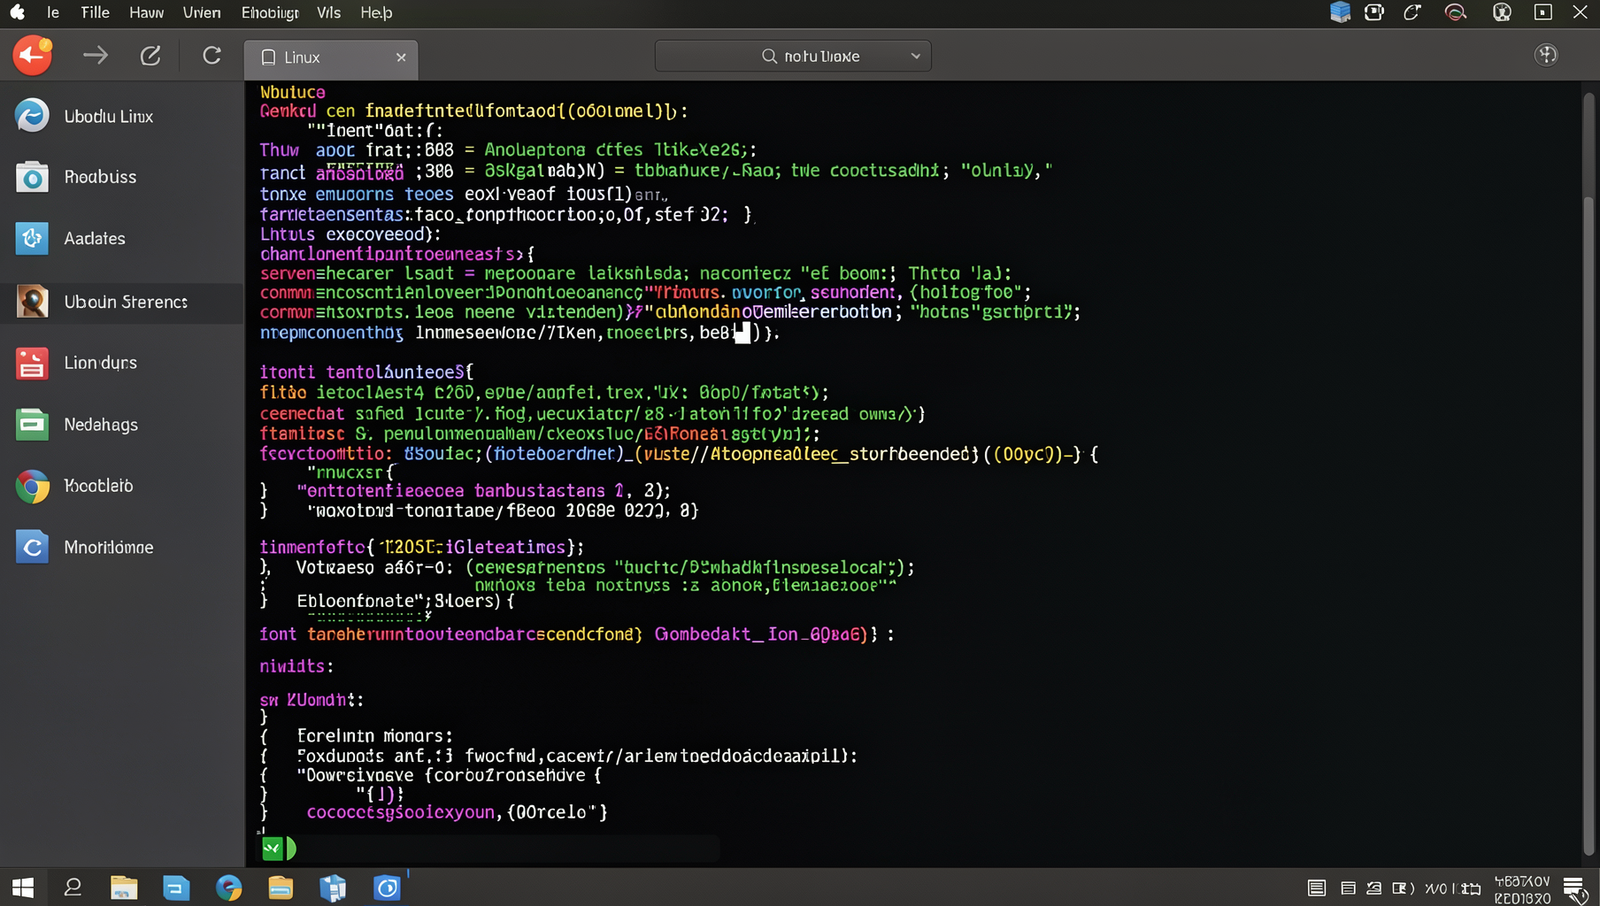
Step 5: Accessing Linux Files
- Open the ‘Files’ app on your Chromebook. You can find it in your app launcher.
- In the left sidebar, look for the ‘Linux files’ section. This is where all your Linux files are stored.
- Click on ‘Linux files’ to view the contents. You can create new folders, upload files, or download files from this section.
- For advanced file management, open the terminal by searching for ‘Terminal’ in your app launcher.
- Use commands like
lsto list files and
cdto change directories within the Linux file system.
- If you prefer a graphical interface, consider installing a file manager like ‘Nautilus’ for easier navigation.
Be cautious when modifying files in the Linux environment, as changes can affect your system’s stability and functionality.
Troubleshooting & Verification
If you cannot access your Linux files, ensure that the Linux environment is properly set up. Check if the Linux terminal is functioning by running ls to list files. If issues persist, restart your Chromebook and verify that the Linux container is enabled in the settings under “Developers.”
Step 6: Install Additional Applications
- Open the Linux terminal on your Chromebook.
-
Install Flatpak by executing the following command:
sudo apt install flatpak -
After Flatpak is installed, add the Flathub repository to access a wide range of applications:
flatpak remote-add --if-not-exists flathub https://flathub.org/repo/flathub.flatpakrepo -
To install a graphical application, use the command:
flatpak install flathubReplace
with the name of the application you wish to install. -
Once installed, you can launch the application from the Linux terminal using:
flatpak run
Note: Before installing any application, check its compatibility with Crostini. Not all applications may work perfectly due to hardware limitations. For a broader selection of applications, explore Snap documentation as well.
Troubleshooting & Verification
If applications fail to install, ensure your Chromebook is updated to the latest version of Chrome OS. Check your internet connection and try restarting the Linux container with lxc restart penguin. Verify installation by running the application from the terminal or app drawer. Consult logs for error messages if issues persist.
Conclusion
In summary, learning how to install Linux on a Chromebook using the Crostini method opens up a world of possibilities for developers and tech enthusiasts alike. By enabling Linux support through the settings, you can easily set up a terminal and install your favorite Linux applications. This process not only enhances your Chromebook’s functionality but also allows you to leverage the power of Linux tools and software.
As you explore the capabilities of Linux on your Chromebook, consider diving deeper into programming, software development, or even system administration. With your new Linux environment, you can experiment with various distributions and applications, making your Chromebook a versatile tool for both work and play. Embrace this opportunity to expand your skills and enhance your computing experience!
Frequently Asked Questions
What is Crostini?
Crostini is a project by Google that allows users to run Linux applications on Chrome OS. It provides a lightweight virtual machine that enables the installation of a Linux environment alongside the Chrome OS. This integration allows users to access a wide range of Linux applications without needing to dual-boot or replace Chrome OS. Crostini is particularly beneficial for developers and users who require specific Linux tools, as it maintains the security and performance of the Chromebook while expanding its capabilities.
How do I enable Linux on my Chromebook?
To enable Linux on your Chromebook, first, ensure your device is running the latest version of Chrome OS. Then, go to the Settings menu and find the “Developers” section. Here, you will see an option labeled “Linux development environment.” Click on “Turn On” and follow the prompts to set up your Linux container. This process typically takes a few minutes and will install the necessary files. Once completed, you can access the Linux terminal and begin installing Linux applications as needed.
Can I install any Linux distribution using Crostini?
Crostini primarily supports Debian-based distributions, as it is built on top of Debian. While you cannot install any Linux distribution directly, you can run many Debian-compatible applications and tools. If you require a specific Linux distribution, consider using a chroot environment or a containerized version of that distribution. However, for most users, the available Debian environment will suffice for development and general use, providing access to a vast repository of software.
Will installing Linux erase my Chromebook data?
No, installing Linux through Crostini will not erase your Chromebook data. The Linux environment runs in a secure container, separate from the Chrome OS. This means that your files, settings, and applications on Chrome OS remain intact. However, it is always a good practice to back up important data before making significant changes to your system. Crostini is designed to enhance your Chromebook experience without compromising your existing data or settings.