
12 min read • 2,550 words
For retro enthusiasts and tech aficionados alike, the desire to install Windows XP on modern hardware can be a nostalgic journey back to a simpler time in computing. Despite its discontinuation and lack of support from Microsoft, Windows XP remains a beloved operating system for many users who appreciate its user-friendly interface and classic applications. This article will guide you through the steps necessary to successfully install Windows XP on contemporary machines, ensuring that you can relive those cherished computing experiences while navigating the challenges of modern technology.
Installing Windows XP on modern hardware presents unique challenges, particularly when it comes to drivers for contemporary components. Many users may find that the necessary drivers are unavailable, leading to the need for creative workarounds or the use of older hardware. In this article, you will learn how to effectively utilize virtualization software like VirtualBox or VMware, enabling you to run Windows XP alongside your current operating system without compromising your machine’s performance. This approach not only preserves the integrity of your modern hardware but also allows you to enjoy the classic features of Windows XP.
One of the most practical methods for installing Windows XP is through a bootable USB drive, which can be created using tools like Rufus. This method is particularly useful given that many modern computers lack optical drives. However, it’s important to note that Windows XP’s lack of support makes it vulnerable to security risks, so understanding how to mitigate these threats is crucial. Additionally, if you find yourself needing to run older applications designed for Windows XP, compatibility mode in Windows 10 can be a valuable tool. This article will equip you with the knowledge to navigate these complexities while enjoying the retro experience of Windows XP.
Step-by-Step Tutorial
Step 1: Gather Required Tools and Software
- Windows XP Installation Media: Obtain a legitimate Windows XP installation disc or download an ISO file from a trusted source. Ensure that the ISO is not corrupted to avoid installation issues.
- USB Drive: Get a USB drive with at least 8GB of storage. This will be used to create a bootable installation media if you are using an ISO file.
- Rufus or Similar Tool: Download Rufus or another tool to create a bootable USB drive from the ISO file. You can download Rufus from its official website.
- Compatible Hardware: Verify that your modern hardware is compatible with Windows XP. Check the manufacturer’s website for drivers and compatibility information.
- Backup Important Data: Before proceeding, back up any important data on your computer, as the installation process may overwrite existing files.
Tips: If your hardware is not compatible, consider using a virtual machine to run Windows XP. This can help avoid driver issues.
Warnings: Ensure the Windows XP ISO is legitimate to prevent potential security risks. Using outdated software can expose your system to vulnerabilities.
Troubleshooting & Verification
Ensure you have a compatible version of Windows XP, a valid product key, and necessary drivers for your hardware. Verify that your installation media (USB or CD) is functional. Check BIOS settings for virtualization support and boot order to facilitate installation.
Step 2: Create a Bootable USB Drive
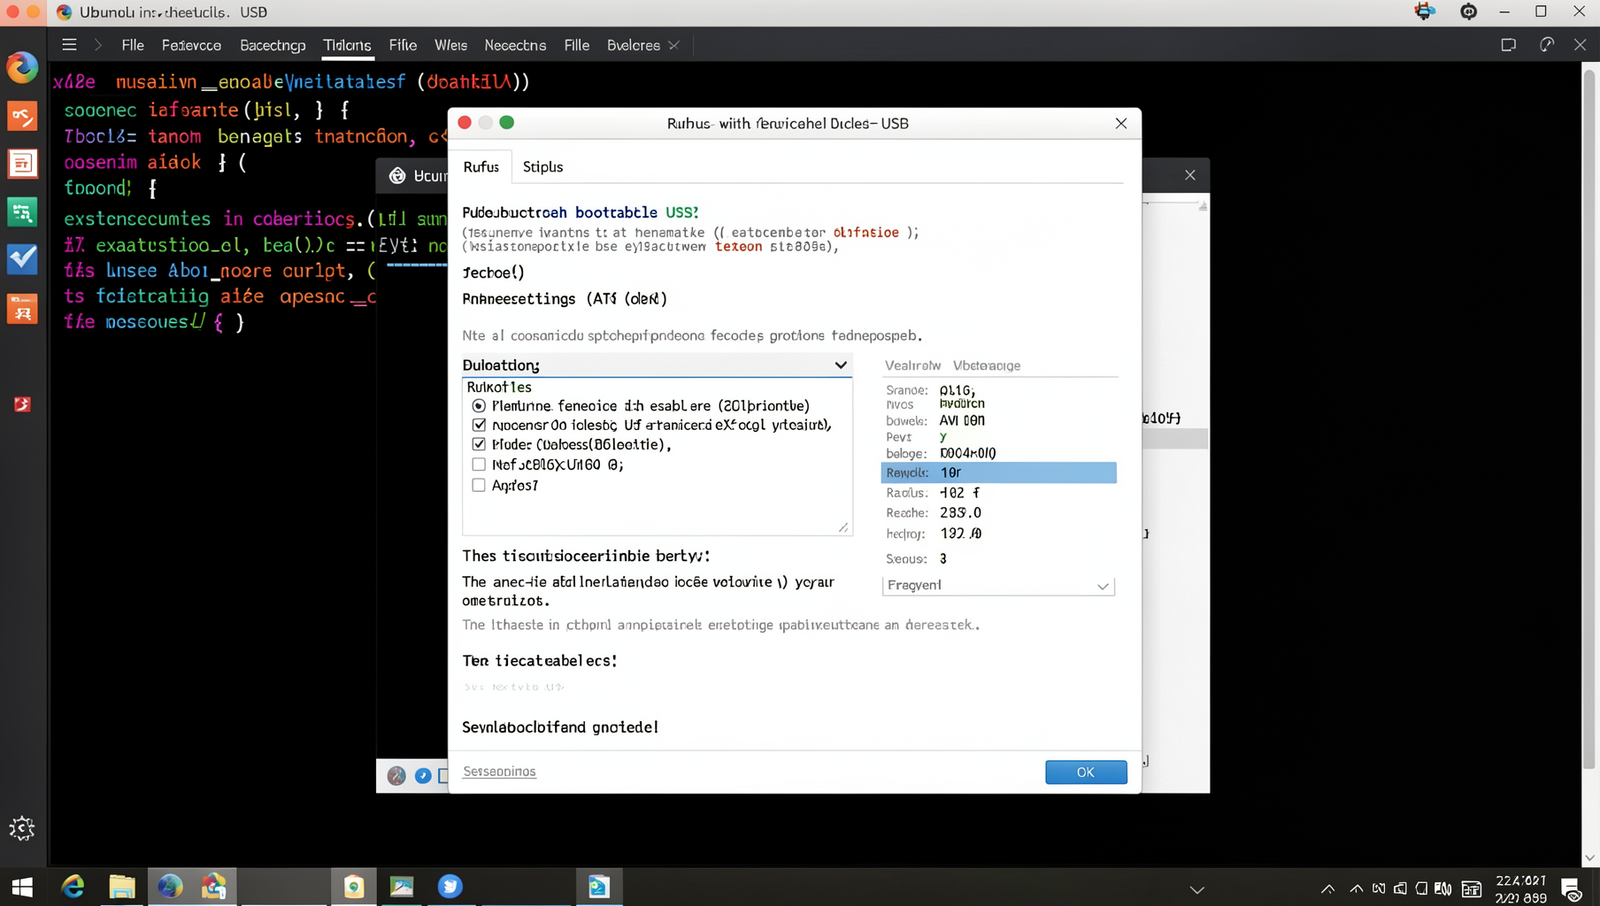
- Download the latest version of Rufus from the official website. Ensure you have the Windows XP ISO file ready.
- Insert a USB drive into your computer. It is recommended to use a USB 2.0 drive for better compatibility with older systems.
- Open Rufus. The application should automatically detect your USB drive. If not, select it from the drop-down menu.
- Under “Boot selection,” click the “SELECT” button and navigate to the location of your Windows XP ISO file.
-
For “Partition scheme,” choose
MBRfor compatibility with older BIOS systems. Leave the file system asFAT32. - Click on the “START” button. A warning will appear stating that all data on the USB drive will be erased. Confirm to proceed.
- Wait for Rufus to create the bootable USB drive. Once completed, you will see a “READY” status.
Now you have a bootable USB drive containing Windows XP installation files, ready for installation on your modern hardware.
Troubleshooting & Verification
If the USB drive fails to boot, ensure it is formatted as FAT32 and that the boot order in BIOS prioritizes USB devices. Verify the integrity of the Windows XP ISO file and confirm that the USB creation tool completed without errors.
Step 3: Adjust BIOS/UEFI Settings
- Restart your computer and enter the BIOS/UEFI settings. This is typically done by pressing
F2,DEL, orESCduring the boot process. The exact key may vary based on your motherboard manufacturer. - Once in the BIOS/UEFI menu, navigate to the “Boot” tab using the arrow keys.
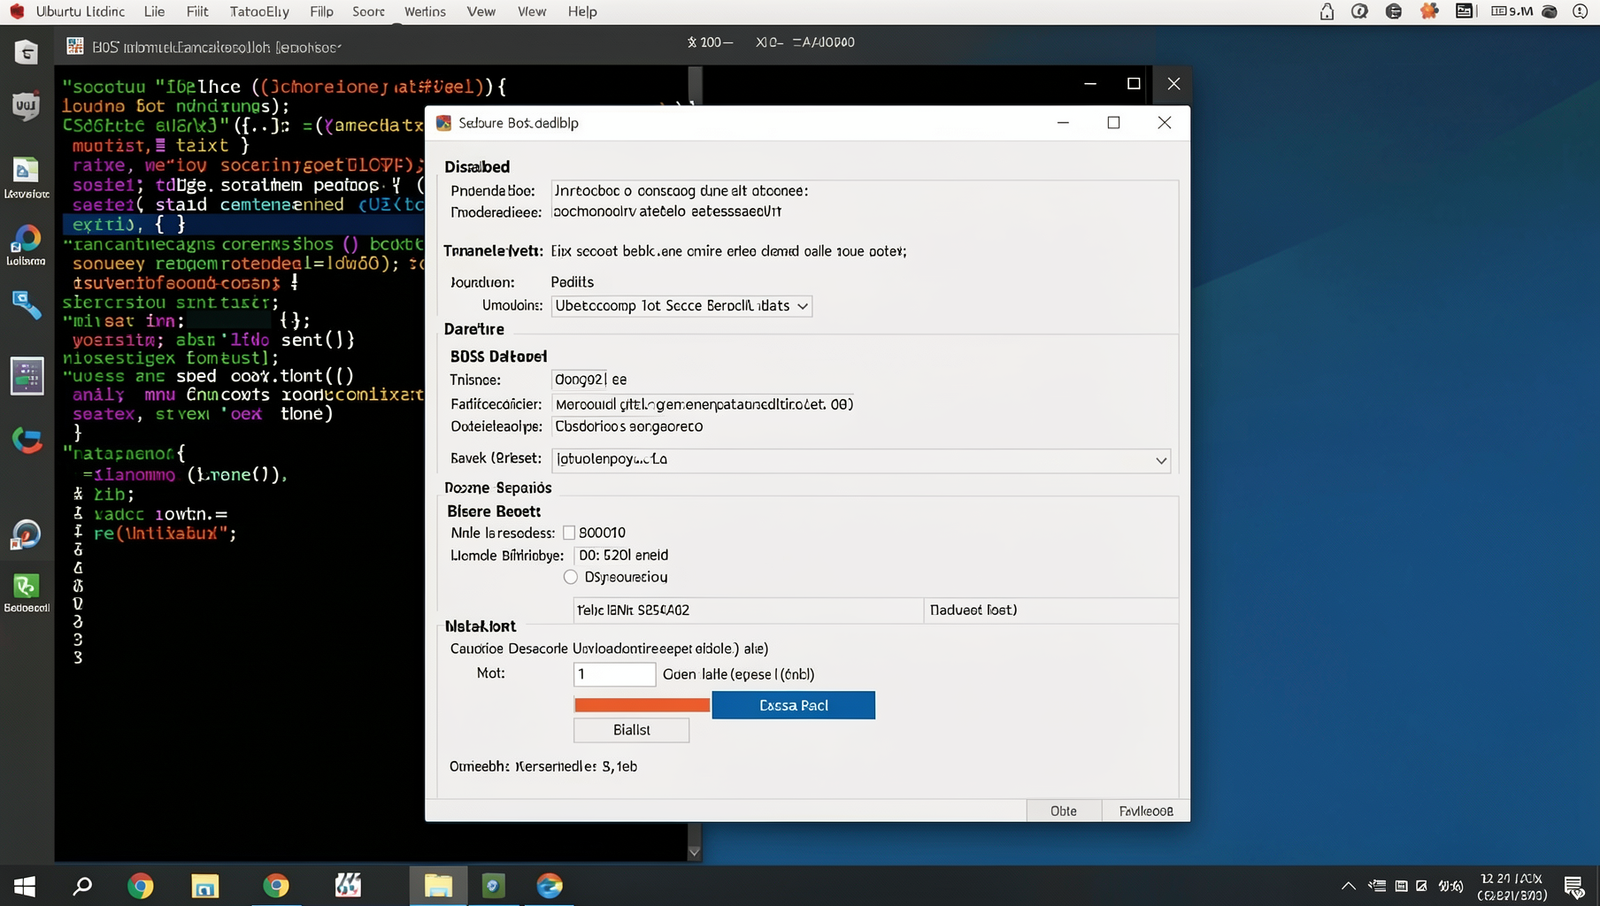
- Locate the “Secure Boot” option and set it to
Disabled. This is necessary as Windows XP does not support Secure Boot. - Next, find the “Legacy Boot” or “CSM” (Compatibility Support Module) option and enable it. This allows the system to boot in a mode compatible with older operating systems like Windows XP.
- If available, select the option to “Load Optimized Defaults” to ensure that any other necessary settings are correctly configured.
- After making these changes, navigate to the “Save & Exit” tab and select “Save Changes and Exit” to apply your settings.
Consult your motherboard manual for specific BIOS settings, as options may vary. Be cautious when changing BIOS settings, as incorrect configurations can affect system stability.
Troubleshooting & Verification
If Windows XP fails to boot, revisit BIOS/UEFI settings. Ensure that Legacy Support is enabled and Secure Boot is disabled. Verify that the boot order prioritizes the installation media. Check for any virtualization settings that may interfere with the installation process.
Step 4: Boot from the USB Drive
- Insert the bootable USB drive into a USB port on your computer.
- Restart your computer to initiate the boot process.
- As the computer starts, watch for a prompt that indicates which key to press to access the boot menu. This is often
F12orESC. - Press the designated key to enter the boot menu.
- From the boot menu, use the arrow keys to select your USB drive and press
Enter. - If the computer fails to boot from the USB drive, try using a different USB port.
- Ensure the USB drive is formatted correctly as FAT32 or NTFS, as this can affect recognition.
Once the computer successfully boots from the USB drive, the Windows XP installation process will begin. Follow the on-screen instructions to continue with the installation.
Tips: If the USB drive is not recognized, try different USB ports. Warnings: Ensure the USB drive is properly connected; if it does not appear in the boot menu, check the connections and formatting.
Troubleshooting & Verification
If the system fails to boot from the USB drive, ensure the BIOS settings prioritize USB booting. Verify the USB drive is properly formatted and contains the correct installation files. Try using a different USB port or a different USB drive if issues persist.
Step 5: Begin Windows XP Installation
- Once you boot from the USB drive, the Windows XP setup will automatically start. You will see a welcome screen.
- Press
Enterto begin the installation process. - Read and accept the license agreement by pressing
F8. - Next, you will be prompted to select the partition where you want to install Windows XP. If you are dual-booting, consider creating a new partition. To do this, press
Cto create a new partition, then specify the size. - Select the partition you want to use for Windows XP and press
Enter. - When prompted to format the partition, choose
NTFSfor better performance. Use the arrow keys to select the format option and pressEnter. - After formatting, the installation will proceed. Follow the on-screen instructions to complete the setup.
Remember to choose the correct partition to avoid data loss on other drives. Formatting the wrong partition can result in irreversible data loss.
Troubleshooting & Verification
If the installation fails to start, ensure your BIOS settings are correctly configured for legacy support. Verify that the installation media is intact and properly created. Check for compatibility issues with your hardware, and consider using a virtual machine if problems persist.
Step 6: Install Drivers and Updates
-
Begin by identifying your hardware components. You can use the
Device Managerto see what devices need drivers. - Visit the manufacturer’s website for each hardware component (e.g., graphics card, motherboard, sound card) to download the latest compatible drivers.
-
Alternatively, use a tool like
Driver Boosterto automatically scan for and install missing drivers. - Once downloaded, install each driver by double-clicking the downloaded file and following the on-screen instructions.
-
After installing all drivers, check for Windows updates by going to
Start>All Programs>Windows Update. - Install any available updates to ensure your system is secure and performs optimally.
- Consider keeping a backup of all drivers on a USB drive for easy access in case of future installations or issues.
Be cautious: using outdated drivers can lead to system instability. Remember that Windows XP is no longer supported, so proceed at your own risk.
Troubleshooting & Verification
If drivers fail to install, check compatibility with Windows XP. Use Device Manager to identify unrecognized hardware. Ensure that Service Pack 3 is installed for better driver support. Verify updates by checking Windows Update or the manufacturer’s website for the latest drivers.
Step 7: Configure System Settings
- Access Control Panel: Click on the “Start” menu, then select “Control Panel” to open the settings interface.
- Adjust Display Settings: In the Control Panel, click on “Display.” Here, you can change the screen resolution to match your monitor’s native resolution for optimal clarity. Select the “Settings” tab and adjust the slider to your desired resolution.
- Configure Sound Settings: Go back to the Control Panel and select “Sounds and Audio Devices.” Ensure your sound card is recognized, and adjust the volume levels. You can also set your preferred sound scheme under the “Sounds” tab.
- Set Up Network Configuration: Click on “Network Connections” in the Control Panel. Right-click on your active connection and select “Properties.” Ensure that TCP/IP is enabled and configure it according to your network settings.
- Apply Classic Theme: For a nostalgic feel, right-click on the desktop, select “Properties,” and choose the “Themes” tab. Select the “Windows Classic” theme for an authentic Windows XP experience.
- Adjust Performance Settings: To enhance performance on modern hardware, go to “System” in the Control Panel. Click on the “Advanced” tab, then under “Performance,” click “Settings.” Choose “Adjust for best performance” to disable unnecessary visual effects.
After completing these steps, your system should be configured to your liking and ready for use. Remember, incorrect settings can lead to poor performance or display issues, so proceed with caution.
Troubleshooting & Verification
Ensure that all BIOS settings are correctly configured for legacy support. Verify that the SATA mode is set to IDE or Compatibility. If Windows XP fails to boot, check for hardware compatibility and ensure that drivers are properly installed for all devices.
Step 8: Install Essential Software
- Choose Compatible Software: Research and select software that is compatible with Windows XP. Focus on lightweight alternatives to ensure better performance.
- Download Software: Use a compatible web browser, such as
Firefox ESRorOpera, to download essential applications. You can also usewgetto download files directly from the command line. - Install Web Browsers: Run the downloaded installer for your chosen web browser and follow the on-screen instructions to complete the installation.
- Install Media Players: Consider installing
VLC Media PlayerorWinampfor media playback. Download the installer and run it. - Install Productivity Tools: For office tasks, download
LibreOfficeorOpenOffice. Follow the installation prompts after downloading. - Keep Software Updated: Regularly check for updates to ensure your software remains compatible and secure. Use the built-in update feature or download the latest versions manually.
wget http://example.com/software.exeBe aware that many modern applications may not support Windows XP, and using outdated software can pose security risks. Always prioritize safety and compatibility when selecting your essential software.
Troubleshooting & Verification
If essential software fails to install, check compatibility settings and ensure you are running the installer as an administrator. Verify that all required drivers are correctly installed. Additionally, consult the software’s official documentation for any specific installation requirements or known issues.
Conclusion
In summary, installing Windows XP on modern hardware can be a rewarding experience for retro fans seeking nostalgia. By utilizing virtualization software or creating a dual-boot setup, you can successfully install Windows XP while preserving your current operating system. Key steps include ensuring compatibility, obtaining the necessary installation media, and configuring your system settings appropriately.
The benefits of installing Windows XP include accessing classic software and games that may not run on newer systems. As a next step, consider exploring additional software options or community forums to enhance your experience and troubleshoot any issues that may arise during your journey with Windows XP.
Frequently Asked Questions
Can I install Windows XP on a modern PC?
Yes, you can install Windows XP on modern hardware, but it may require some additional steps. Many modern PCs use UEFI firmware instead of the traditional BIOS, which can complicate the installation process. You may need to disable Secure Boot and enable legacy mode in the BIOS settings. Additionally, drivers for newer hardware may not be available, so you might face compatibility issues. Virtual machines are also an option, allowing you to run Windows XP alongside your existing operating system without altering your hardware setup.
What hardware requirements are needed for Windows XP?
The minimum hardware requirements for Windows XP include a 233 MHz processor, 64 MB of RAM, and 1.5 GB of hard disk space. However, for a smoother experience, it is recommended to have at least a 1 GHz processor, 512 MB of RAM, and 10 GB of free disk space. Additionally, a compatible graphics card and sound card are necessary for multimedia functions. Keep in mind that modern hardware may not have drivers for Windows XP, so ensure compatibility before proceeding with the installation.
Where can I find Windows XP installation media?
Finding legitimate Windows XP installation media can be challenging, as Microsoft no longer supports the operating system. However, you may be able to locate original installation CDs through online marketplaces, second-hand stores, or auction sites. Additionally, some websites offer downloadable ISO files of Windows XP, but be cautious and ensure that you are obtaining these files from reputable sources to avoid malware. Always verify the authenticity of the media and consider using a valid product key during installation.
Are there security risks with using Windows XP?
Yes, using Windows XP poses significant security risks, as Microsoft officially ended support for the operating system in April 2014. This means no more security updates or patches, leaving your system vulnerable to malware and cyber attacks. If you choose to use Windows XP, it is crucial to implement additional security measures, such as using a reliable antivirus program, running the OS in a virtual machine, or isolating it from the internet. For sensitive tasks, consider using a more modern operating system that receives regular updates and support.